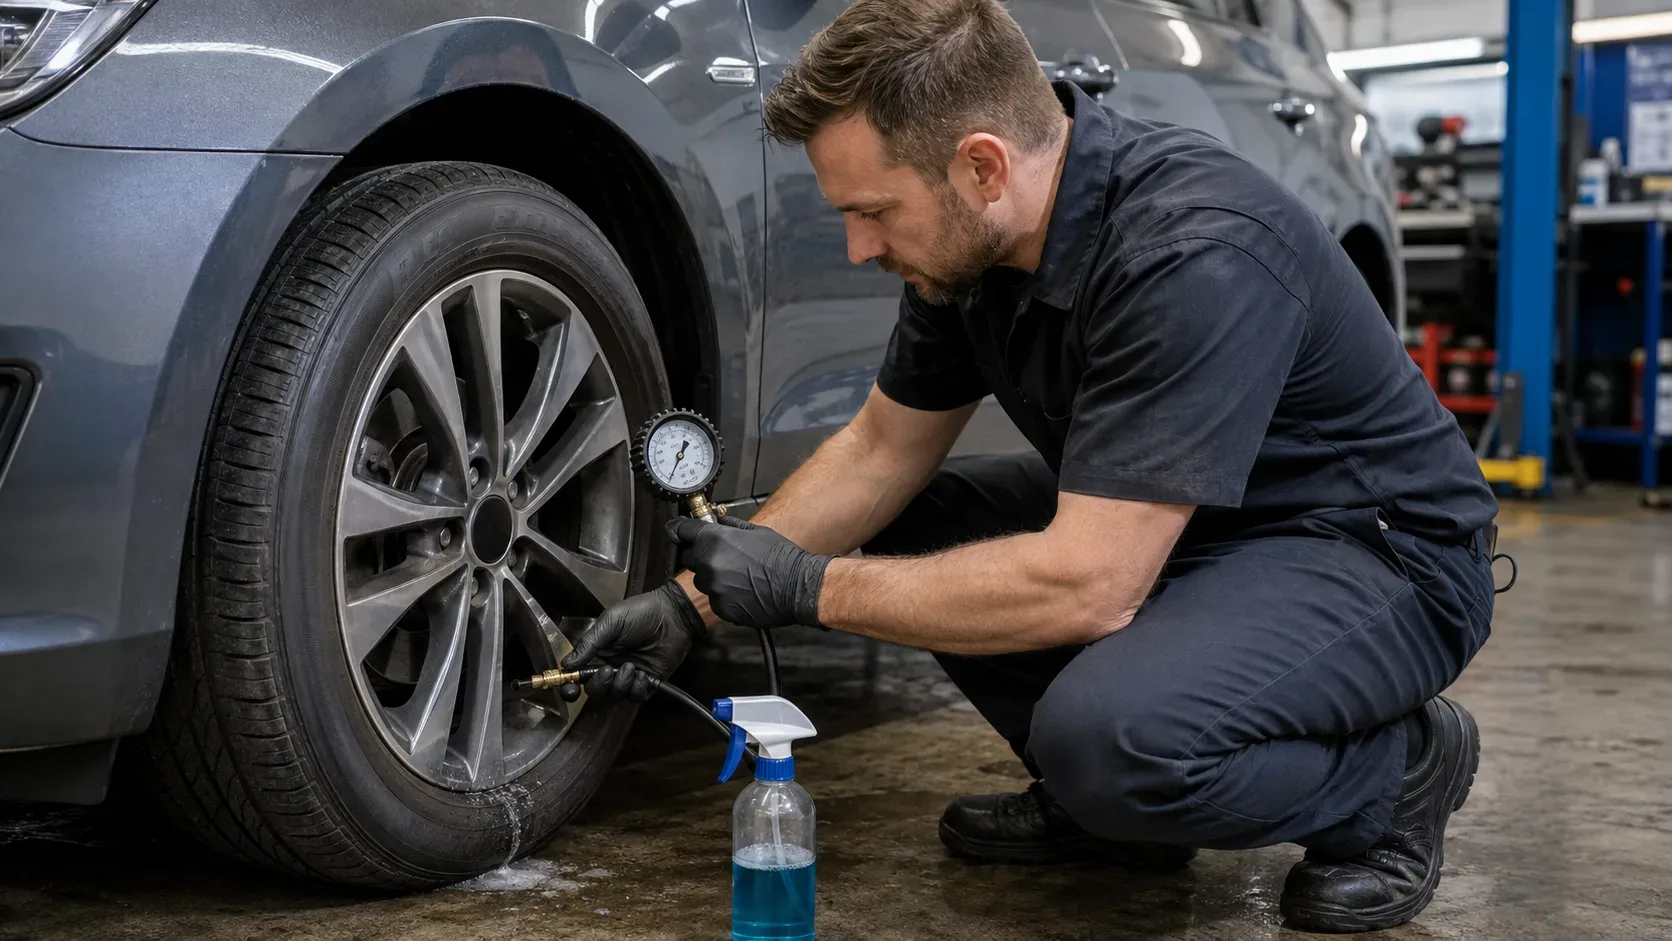
If one tire needs to be topped up every week, treat the situation as abnormal pressure loss until the cause is identified. Tires naturally lose a small amount of pressure, and temperature also changes the reading, but the USTMA says passenger tires can lose about 1 to 2 psi per month under normal conditions and that continuous loss above 2 psi per month should be checked by a tire service professional. Michelin also notes that a valve, wheel, or slow puncture can make a tire lose air faster.
The most useful question, then, is not simply “is there a puncture?” It is which tire loses pressure, how much it loses, how quickly, and under what conditions. That record helps separate normal temperature-related variation from a localized leak at the valve, the bead/rim interface, the wheel, or a tiny puncture that does not show up in a quick inspection.
First: is weekly pressure loss normal?
A small drop over several weeks can occur even in a healthy tire assembly. Pressure also falls when ambient temperature drops and rises as the tire warms. Comparing a reading taken after driving with one taken on a cold morning can therefore create the impression of a leak.
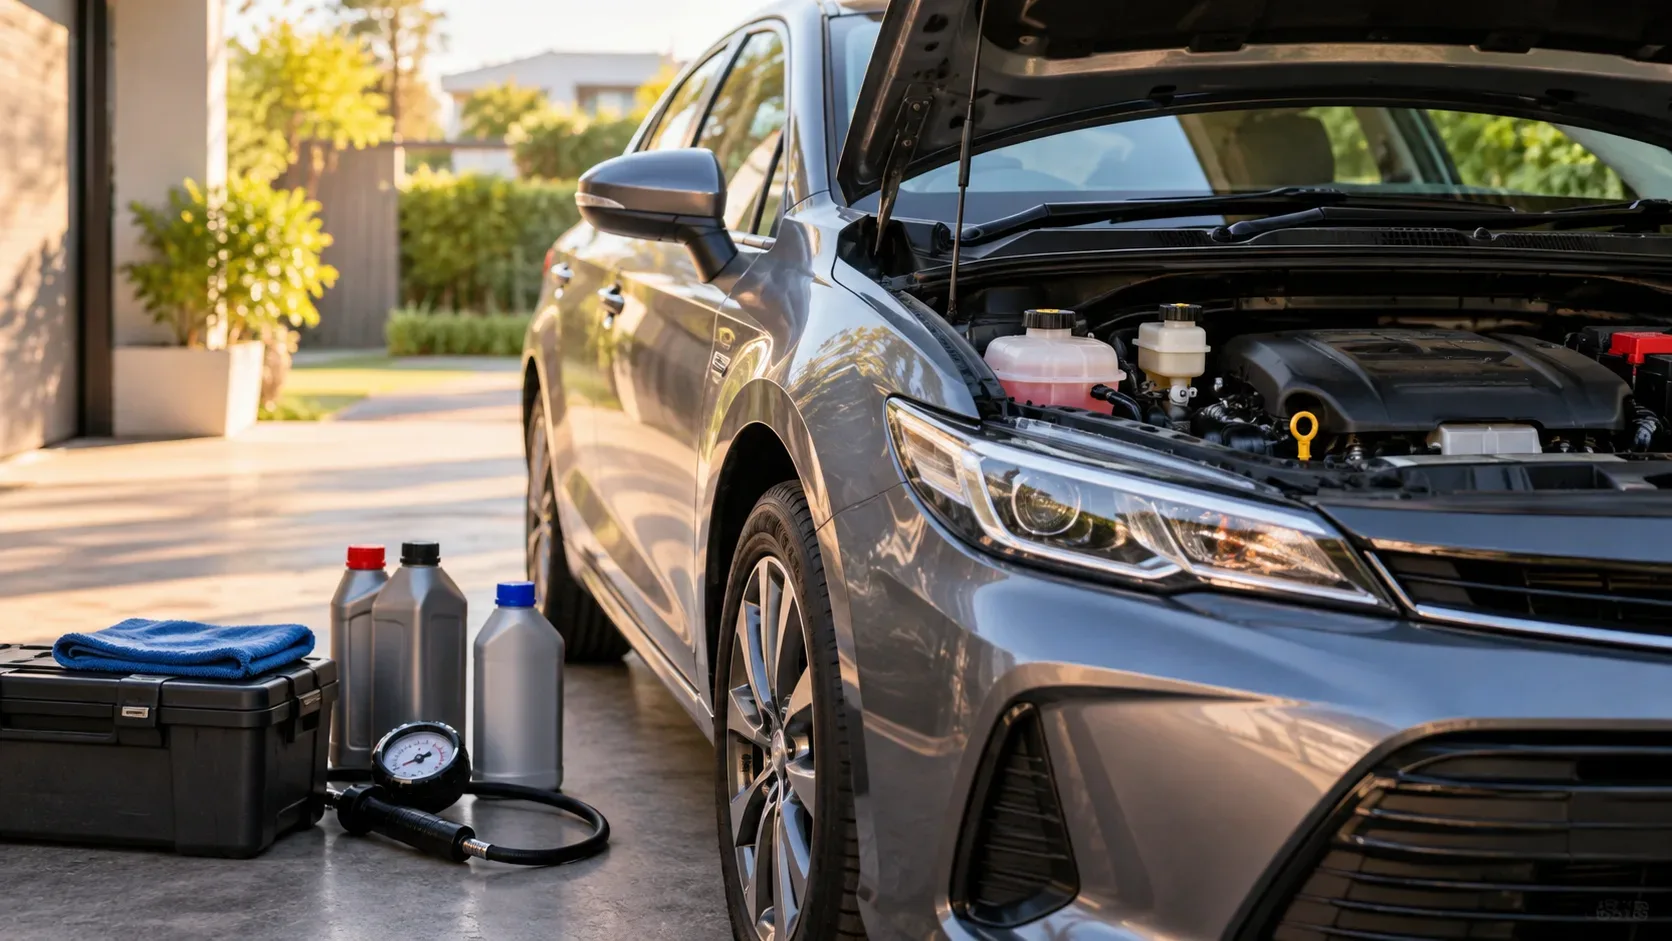
For a useful comparison, measure the tires when they are cold, preferably after the car has been parked for at least three hours, and use the same gauge. Use the vehicle manufacturer's recommended pressure on the door placard, fuel-door label, or owner's manual — not the maximum pressure molded into the tire sidewall.
One practical clue matters: if only one tire repeatedly loses pressure while the other three remain close to their usual pattern, a localized leak becomes much more likely. If all four change by a similar amount after a meaningful temperature shift, ambient conditions may explain part of the variation.
Keep a 7-day pressure log before guessing the cause
The log is not a reason to keep driving on an underinflated tire. Its purpose is to record the drop before correcting it. Whenever a reading is low, write it down and then restore pressure to the vehicle specification.
| When | What to record | What to watch for |
|---|---|---|
| Day 0, cold tires | Pressure in all four tires and approximate ambient temperature | Set a baseline after inflating correctly |
| Days 2 to 3 | New reading before adding air | See whether one tire is already diverging from the others |
| Days 5 to 7 | Repeat under similar conditions | Compare each tire's accumulated pressure loss |
| Every time you add air | Pressure found and pressure restored | Track how often the same tire needs topping up |
Do not compare only the absolute pressure values between front and rear tires, because some vehicles specify different pressures by axle. Compare mainly each tire's loss against its own baseline.
How to separate a valve leak, bead leak, wheel problem, and slow puncture
| Pattern | Most compatible suspicion | Next step |
|---|---|---|
| All tires drop similarly after a temperature change | Temperature effect and natural pressure loss | Reset pressure cold and continue monitoring |
| One tire loses much more than the others | Valve, small puncture, bead/rim seal, or wheel | Have the full assembly leak-tested |
| Bubbles form at the valve with soapy water | Leaking valve core or valve body | Have the valve or seal inspected and replaced as needed |
| Bubbles form along the tire-to-rim edge | Leak at the bead/rim seal, contamination, corrosion, or damage | Dismount and inspect the tire-wheel assembly |
| No external bubbles, but pressure still drops | Tiny puncture, internal leak, mounting damage, or wheel issue | Professional inspection, including dismounting if necessary |
| Loss began after a pothole or impact | Damage to the tire, sidewall, bead, or wheel | Stop DIY diagnosis if there is deformation or visible damage |
1. Valve: a small part can cause a real leak
The valve keeps the assembly sealed, but its rubber body and internal core can age or lose airtightness. Michelin explains that a porous valve can cause slow pressure loss even when the tire itself is still in good condition.
A simple check is to apply soapy water around the valve and watch for bubbles that continue to grow. That can point to a leak, but it does not justify DIY disassembly and does not rule out other causes. On TPMS-equipped valves, sealing can also involve sensor-specific components.
2. Bead and rim: the leak may be at the interface
The bead is the part of the tire that seals against the rim. If that interface is contaminated, corroded, deformed, or damaged, a slow leak can occur without any visible nail. Michelin itself lists the wheel among possible sources of air loss, and industry technical guidance also identifies corroded or damaged rims as causes of continuous pressure loss.
Diagnosis often requires dismounting the tire, cleaning the seating surface, and inspecting both the bead and rim. If the leak returns after a simple top-up or superficial test, ask the shop to inspect this area specifically.
3. Wheel: suspicion rises after impact or corrosion
A damaged wheel can compromise sealing even when the tread looks intact. Suspicion increases if the pressure loss started after a pothole, curb strike, or other impact and the same tire is always affected. Rim corrosion can also create an uneven sealing surface.
In that situation, looking only for a nail is not enough. The shop should assess the rim, the bead seating area, and signs of tire damage associated with the impact.
4. Slow leak: the puncture may be too small to spot
Nails, screws, and other objects can create a gradual leak, sometimes without making the tire look visibly flat between pressure checks. A quick shop test may also miss a very small leak or one that appears only in a certain position or condition.
If the logged loss is consistent and the valve and rim areas do not explain it, a more complete inspection makes sense, including the inside of the tire. Michelin recommends dismounting a punctured tire to assess internal damage before deciding whether it can be repaired safely.
What a soapy-water test can — and cannot — tell you
Soapy water can help locate external leaks at the valve, the bead-to-rim interface, or around a penetrating object. Bubbles that form and continue to expand suggest escaping air.
But no bubbles does not prove the assembly is airtight. An extremely slow leak, internal damage, a problem that appears under load, or an imperfect seal elsewhere on the wheel can be missed. Treat a home soap test as screening, not as a definitive diagnosis.
When to stop the DIY investigation
Do not keep treating the issue as simple “weekly inflation” if you see any of the following:
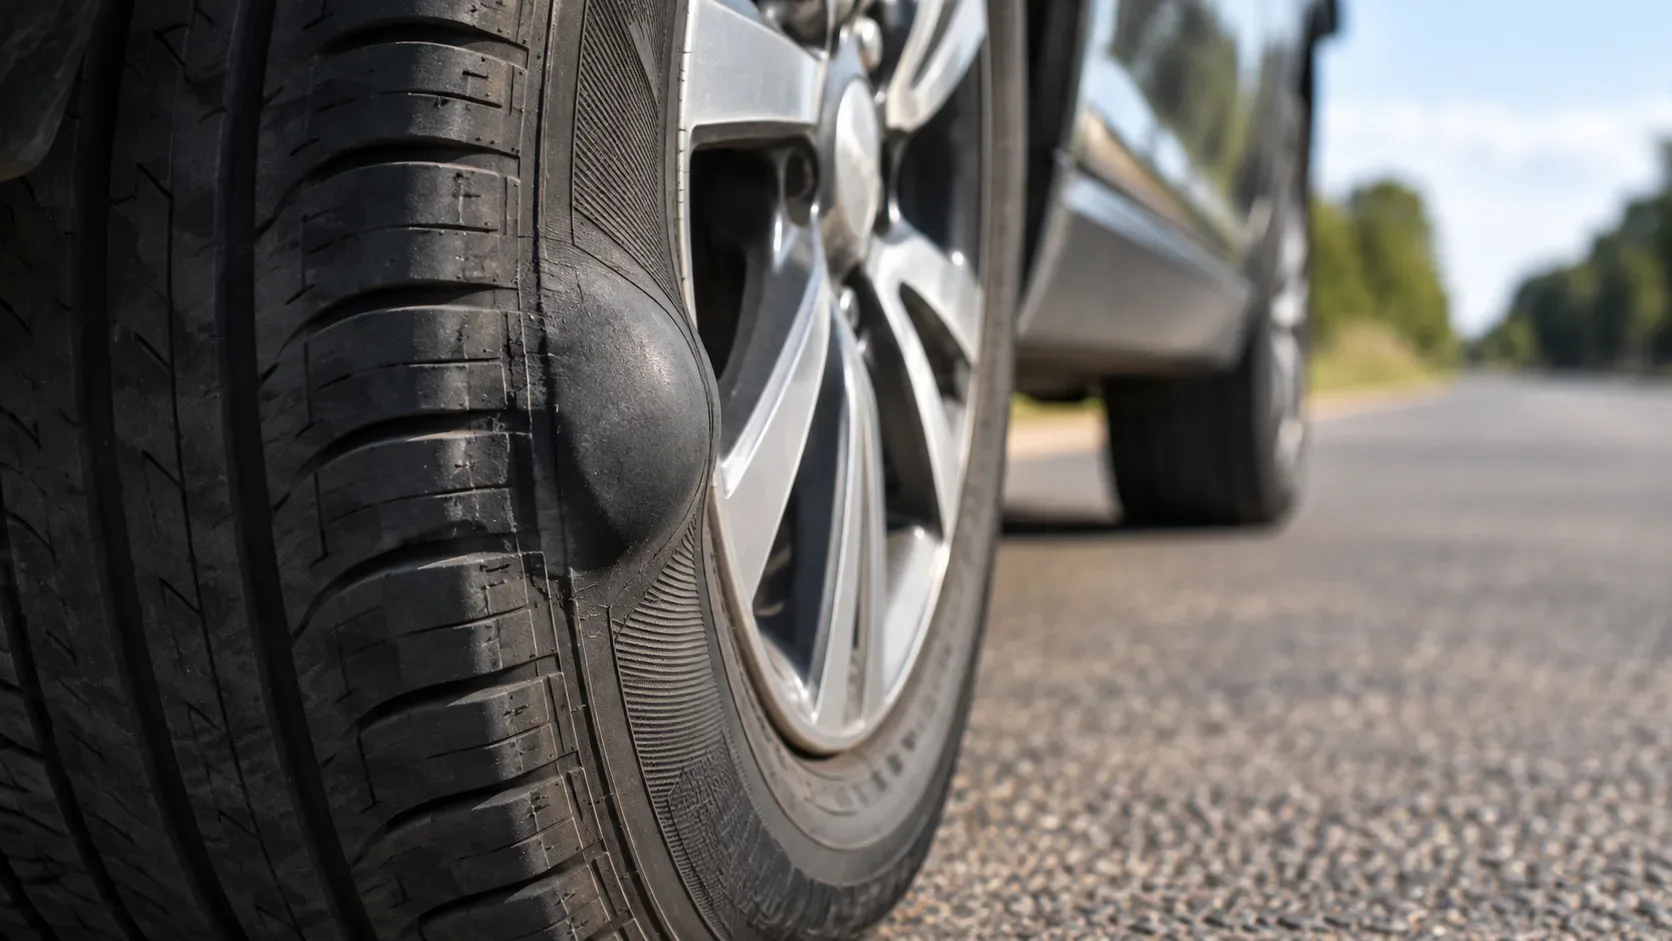
- a bulge or blister on the sidewall;
- a deep cut, tear, exposed cords, or exposed bead wire;
- visible deformation of the tire or rim;
- rapid pressure loss over hours or a few days;
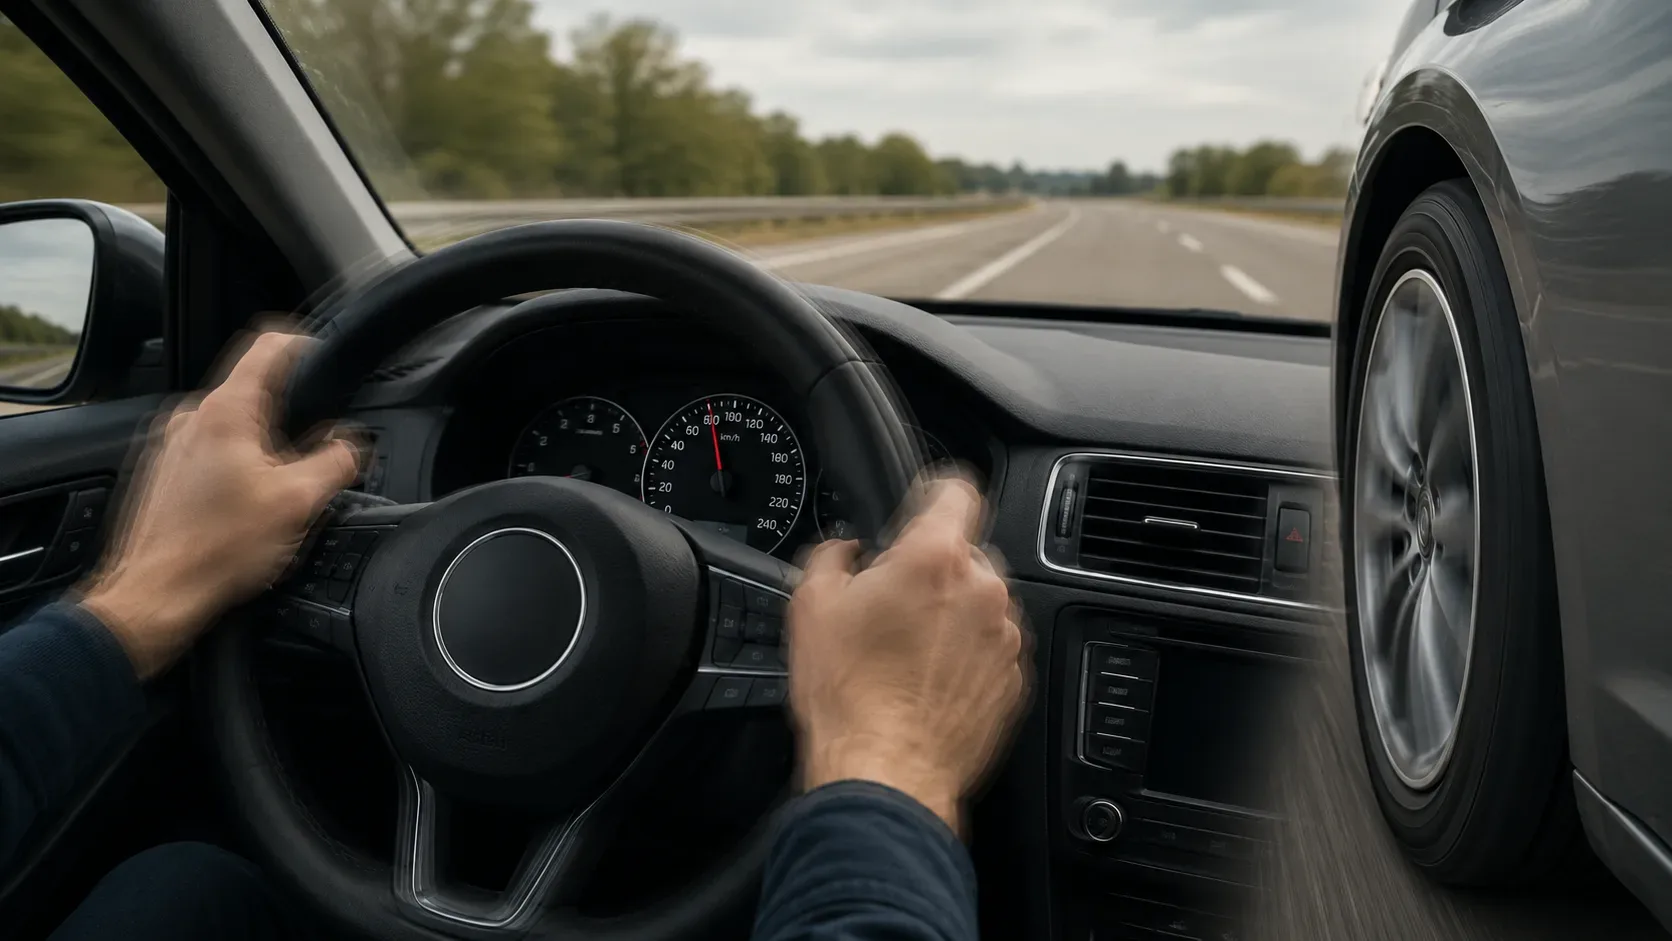
- new pulling, vibration, or abnormal handling;
- a history of driving with the tire severely underinflated;
- recurrence after a repair without a confirmed leak source.
Michelin warns that deep sidewall cuts and bulges can indicate structural damage. At that point, the priority is no longer finding a micro-leak at home; it is avoiding continued use of a potentially compromised tire assembly.
What to ask a tire shop or workshop to check
Instead of asking only “look for a puncture,” describe the pattern: how much pressure the tire loses, over how many days, and whether the other three remain stable. Then ask for the whole assembly to be checked:
- cold pressure against the vehicle specification;
- valve core, valve body, and valve seal;
- tread for a slow puncture;
- bead and rim seating surface;
- wheel corrosion, deformation, or damage;
- internal tire inspection if the cause is not visible externally.
This avoids the common cycle in which the tire is simply reinflated, returned to the car, and low again a week later.
Practical summary
If the pressure loss is small, similar across all four tires, and coincides with a temperature change, monitor and set pressures when cold. If one tire alone needs air every week, treat it as a leak until proven otherwise. Start with a pressure log, compare the rate of loss, and check the valve and bead/rim interface. If the leak persists, follows an impact, or comes with deformation or sidewall damage, have the tire and wheel professionally inspected, including internally when necessary.