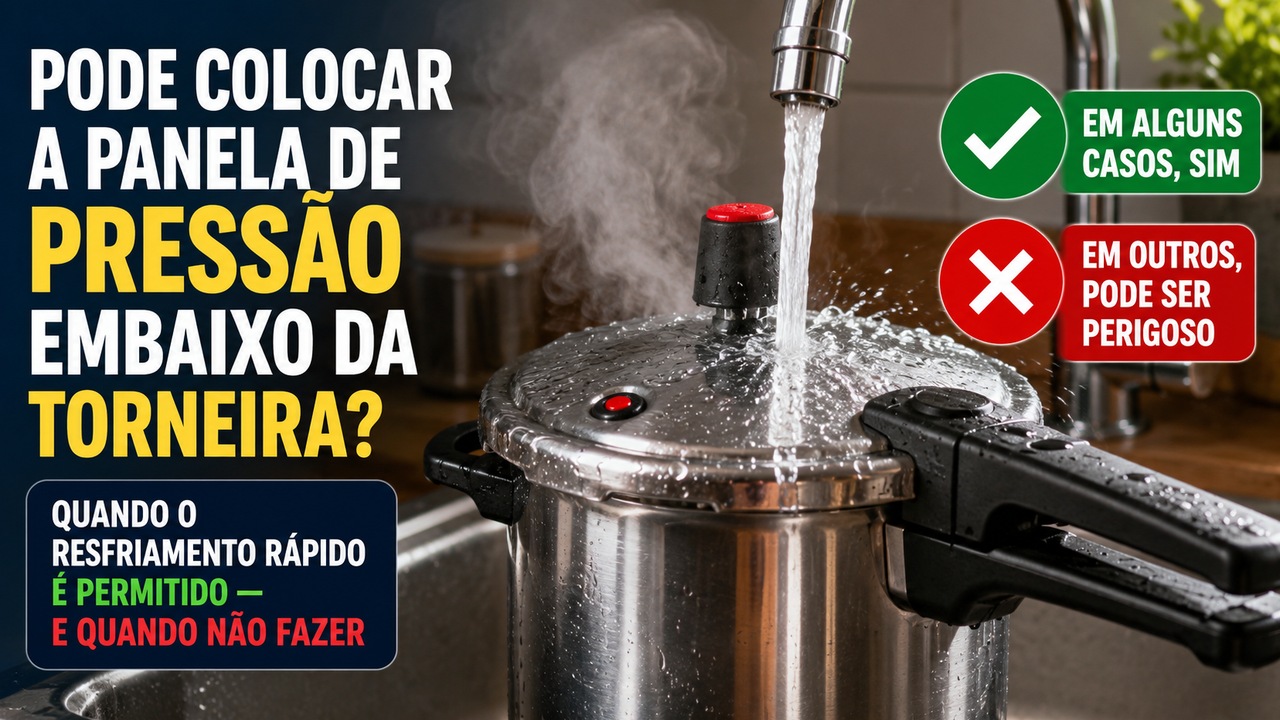
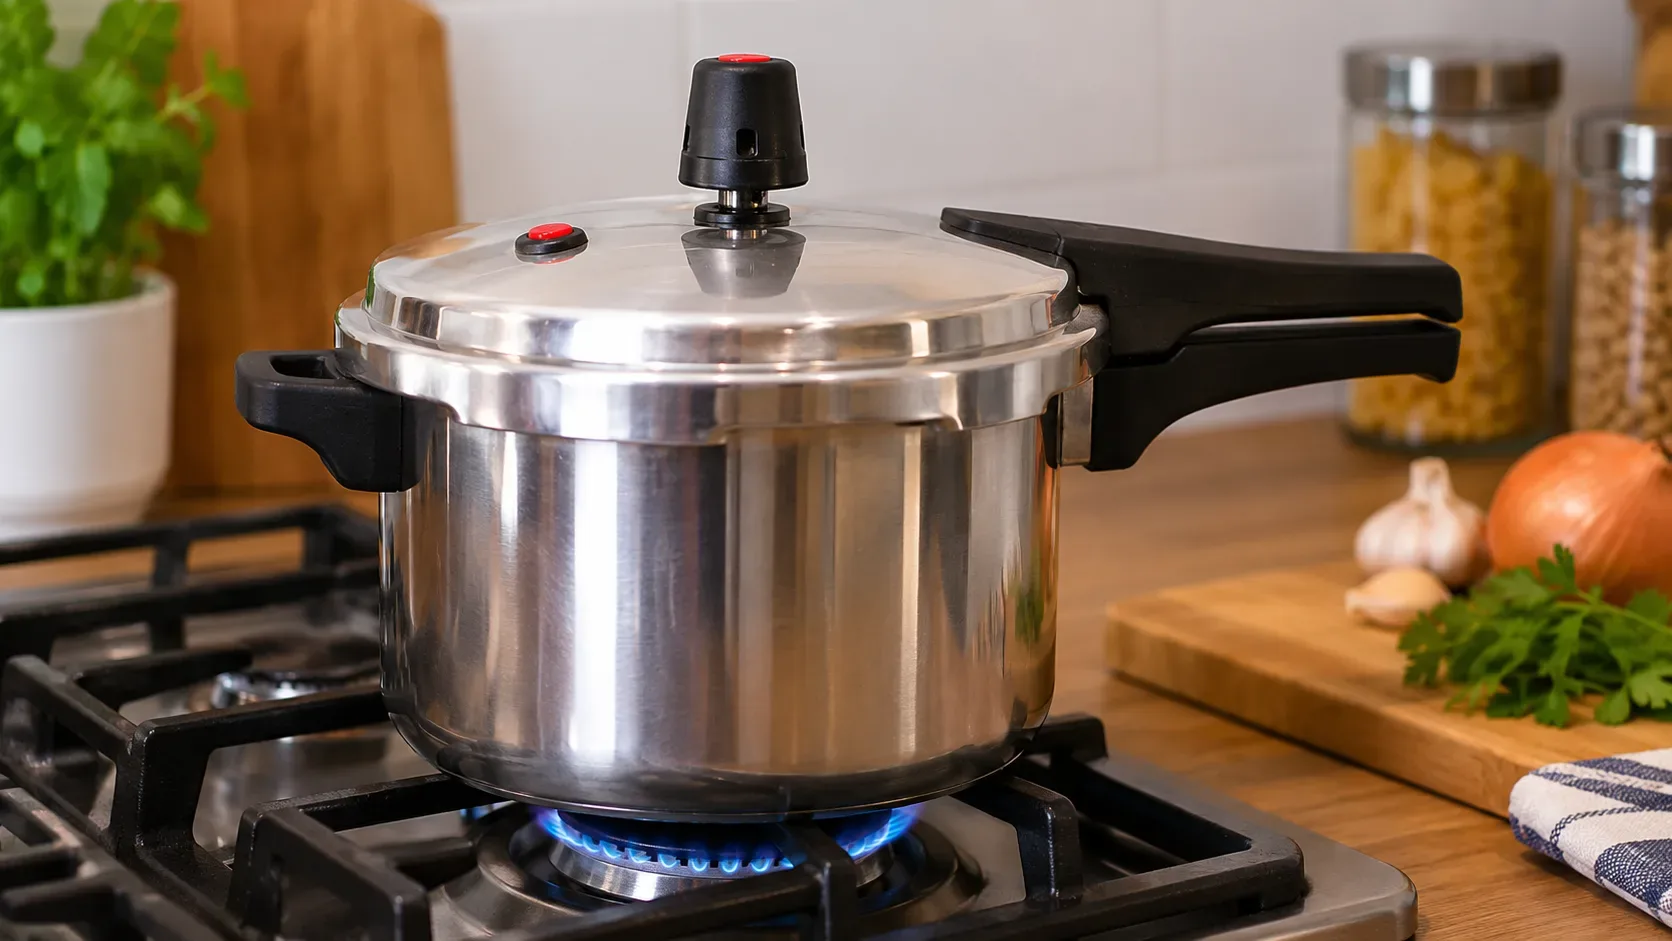
When a pressure cooker will not build pressure, troubleshooting starts with three basic conditions: there must be enough liquid to generate steam, the lid must close and seal correctly, and the steam outlet must work as designed by the manufacturer. If one of these conditions fails, steam escapes or is not produced in sufficient volume.
The most important point is safety: do not try to correct the cooker while it is hot or pressurized. Remove it from the heat source, wait for full depressurization, and open it only when your model's mechanism indicates that no internal pressure remains. Never force the lid, block valves, or add weights, wires, pins, or other makeshift modifications to safety systems.
Before troubleshooting: stop, cool and confirm there is no pressure
If the cooker is on the heat and is not pressurizing as expected, turn off the heat source. Persistent leakage, activation of a safety valve, or behavior that differs from normal is not a reason to compensate with more heat or to improvise a blockage.
Manufacturers instruct users to stop using a cooker when there is continuous leakage, damaged or deformed components, and they also warn against interfering with safety devices beyond the maintenance described in the manual. The checks below therefore assume a cooker that is cool, open and completely depressurized.
Decision tree: where to start with a cool cooker
1. Was steam escaping around the rim of the lid?
If steam was continuously escaping between the lid and the body, start with sealing and closure. Check that the lid was aligned and locked according to the model, that the rim is clean, and that the sealing ring is properly seated in its groove.
Remove food or grease residue only by the cleaning method specified in the manual. Inspect the ring: hardening, cracks, deformation, cuts, or loss of elasticity can prevent a proper seal. In that case, the solution is not to thicken the ring, fold it, add tape, or adapt a similar piece of rubber. Use the replacement part specified for the model.
2. Do the lid and sealing ring look correct? Check the liquid
Pressure depends on steam. Without enough liquid, the cooker can heat up without producing the steam volume required for normal operation. Check the recipe and, above all, the minimum liquid specified in your model's manual.
That amount is not universal. Some manufacturer models list 250 ml as a minimum liquid amount, but that number should not automatically be applied to every pressure cooker. Likewise, respect the maximum fill level and any special limits for foods that foam or expand. Overfilling can also interfere with operation and increase the chance that food residue reaches the steam-release system.
3. Are there signs of residue or blockage in the valve or steam path?
With the cooker cool and disassembled only as far as the manual allows, look for residue on the operating valve, pin, or accessible openings. A blocked valve is a safety condition, not an invitation to drill, enlarge, or improvise the passage.
Perform only the cleaning procedure described by the manufacturer for that model. Some manuals allow certain parts to be removed for cleaning; others use different assemblies. If you cannot confirm that the steam path is clear using the prescribed procedure, or if a valve is damaged, the safest choice is not to use the cooker until the correct part is replaced or the cooker is serviced.
4. Does the lid close differently, is a part bent, or does a device fail to return to its normal position?
A deformed body, warped lid, abnormal lock, broken part, or safety system outside its specified position are reasons to stop using the cooker. Do not try to bend metal back, remove a lock, shim the lid, or disable a device to make the cooker seal.
When the problem involves the structure, locking mechanism, or a safety device, evaluation by the manufacturer or an authorized service provider is more appropriate than repeated tests on the stove.
What each symptom may suggest
| Observed symptom | What to check with the cooker cool | Safe response |
|---|---|---|
| Continuous steam around the rim | Lid closure, rim cleanliness, and the position/condition of the sealing ring | Reseat as instructed; replace a damaged ring with the correct part |
| Cooker heats but does not build pressure | Minimum liquid amount, closure, and sealing | Correct only according to the manual before another use |
| Steam or liquid exits through a safety device | Possible blockage, overfilling, or component fault, depending on the model | Turn off heat, fully depressurize, and follow the manual; never block the outlet |
| Valve does not “spin” or move as expected | The model manual, because normal behavior varies | Do not treat valve movement as a universal rule |
| Sealing ring is dry, cracked, or deformed | Part code and compatibility | Replace it with the specified part for the model |
| Lid or body is deformed, or lock is damaged | Structural integrity and closing mechanism | Do not use; contact the manufacturer or service provider |
A stationary valve does not necessarily mean a fault
Not every pressure cooker displays pressure in the same way. On some models, a weighted valve may release steam visibly; on others, the part does not need to spin for normal operation. Therefore, “the valve is not moving” by itself does not confirm a defect.
Use the behavior described in the manual as your reference: operating position, steam-release pattern, pressure indicator, and closing sequence. Comparing your cooker with a video of a different model can lead to the wrong diagnosis.
What not to do to “make it build pressure”
- Do not place extra weight on the valve.
- Do not cover a steam outlet with cloth, foil, a utensil, or any other object.
- Do not use wire, needles, drill bits, or tools to enlarge openings outside the manufacturer's procedure.
- Do not replace a ring, valve, or safety device with a “similar” part unless compatibility is confirmed.
- Do not force the lid closed or try to open it while pressure remains.
- Do not keep increasing the heat to compensate for a leak.
- Do not keep using the cooker if there is damage, deformation, or persistent leakage.
When a replacement part may solve it — and when to get service
A clearly worn sealing ring is an example of a wear part that can be replaced when the manufacturer allows user replacement and you identify the exact part for the model. The same applies to removable components whose replacement is specifically described in the manual.
Seek service when there is uncertainty about the locking mechanism or safety valve, deformation of the lid or body, persistent leakage after permitted care, a stuck or damaged part, or when the manual does not authorize the disassembly required. If the cooker repeatedly activates the same safety device after the prescribed cleaning, do not keep running new cycles.
Checklist before the next use
- Cooker, lid, and safety systems show no visible damage.
- Contact rim is clean.
- Sealing ring is clean, flexible, correctly seated, and compatible with the model.
- Lid closes and locks as described in the manual.
- Valve and accessible passages are clean according to the manufacturer's procedure.
- Liquid amount meets the model's minimum and fill limits.
- No safety device is blocked, weighted, or modified.
If all of these checks are correct and the cooker still will not pressurize, the next step is not a workaround: compare its behavior with the exact model manual and, if needed, have it evaluated. In a pressure cooker, the seal and valves are part of the energy-control system; treating them as ordinary hardware increases the risk of an accident.
Useful sources and manuals
- Tramontina — general guidance and common reasons a pressure cooker may fail to build pressure.
- Tramontina — Brava pressure cooker manual, including guidance on valves, seals, leaks, and original parts.
- Presto — pressure cooker manual with guidance on sealing, liquid, continuous leakage, and maintenance.