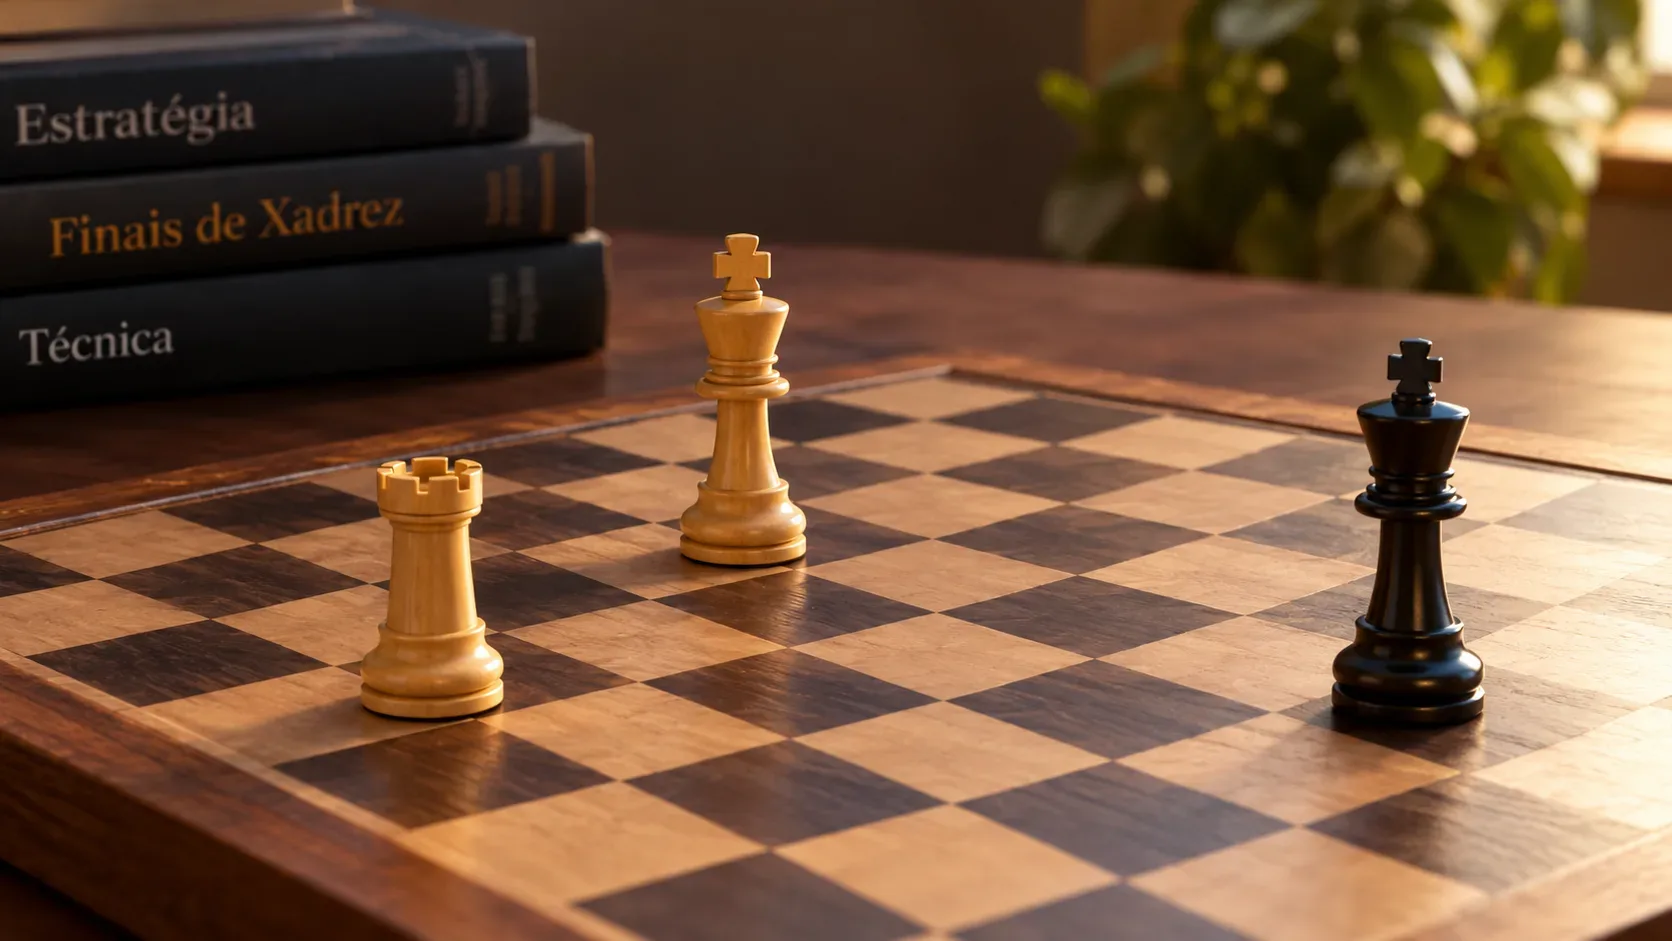
King and rook versus king is a won endgame, but the result does not happen automatically. The rook restricts the defending king, the attacking king takes away escape squares, and checkmate only appears when the rook gives check with the opposing king trapped on the edge. The most common mistake is trying to give a string of checks without coordination. Another mistake, especially when the defending king is already boxed in, is to remove every legal square without giving check and turn a win into a draw by stalemate.
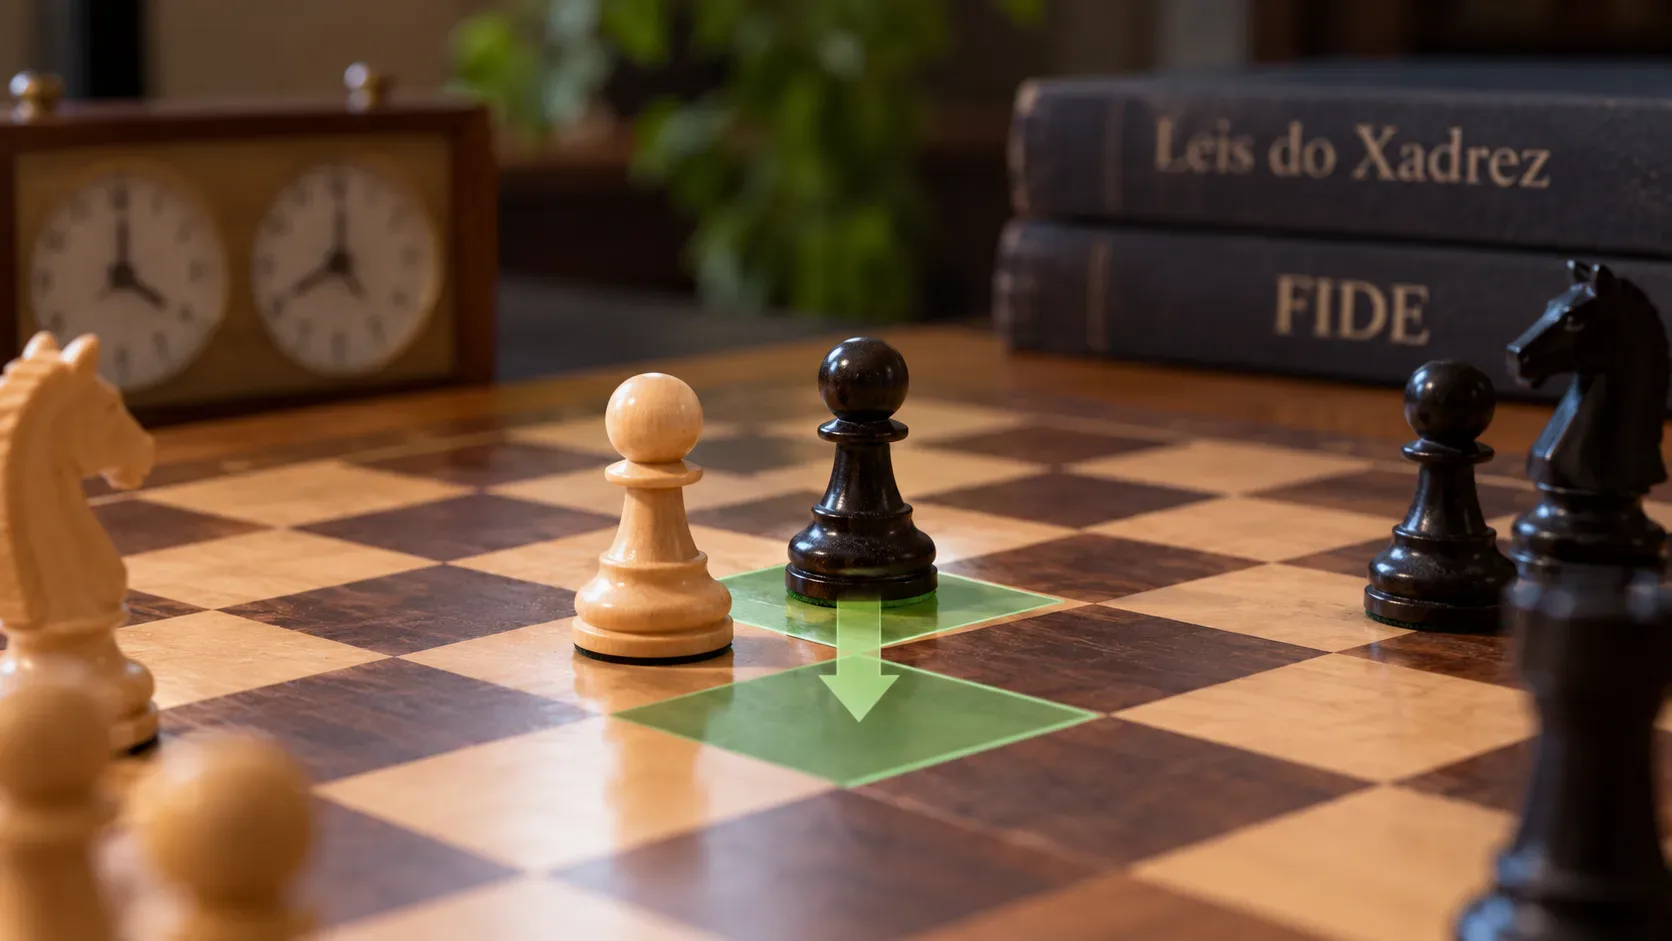
Under the FIDE Laws of Chess, checkmate ends the game with a win when the king is under attack and has no legal response. Stalemate ends the game in a draw when the player to move is not in check and has no legal move. That difference defines the entire technique of this endgame.
The central idea: build and shrink the box
Think of the rook as a wall. A rook placed on a rank or file cuts off part of the board and reduces the area available to the opposing king. The edge of the board closes the other sides. This restricted area is the “box”. The goal is not to chase the king with checks, but to make the box progressively smaller until the defending king reaches an edge.
The technique can be broken into four tasks:
- Cut off the king with the rook. Use a rank or file to limit the defending king's movement.
- Bring your king closer. The attacking king is the piece that actually drives the opposing king away from central squares. The rook cannot complete the mate by itself.
- Shrink the box when you have support. When the kings face each other with the right separation, a sideways rook check can force the defending king to retreat.
- Repeat until the edge. On the edge, the attacking king covers the escape squares and the rook gives the final check.
Two precautions apply at all times. First, do not leave the rook within capture range of the opposing king unless it is protected. Second, kings can never occupy adjacent squares because each king attacks the neighboring squares.
Step by step: the box technique
1. Cut off as much space as possible without losing the rook
If the opposing king is in the center, look for a safe rook square that divides the board. Giving check is not required. A good cut is more valuable than a check that simply sends the king in a different direction. If the defending king comes too close to the rook, move the rook away while keeping the same wall whenever possible.
2. Walk the attacking king forward
After the cut, advance your king. The aim is to reach a position where the attacking king directly limits the squares in front of the defending king. In practical terms, you want the kings close without placing them next to each other. When the defending king tries to go around your king, adjust your position and preserve the rook's cut.
3. Use a check only when it shrinks the box
A useful check is one that forces the defending king backward, toward the edge. If your king controls the forward squares and the rook checks from the side, the defender will usually have to retreat. After that retreat, the rook can establish a new wall and the box becomes smaller.
4. Make a waiting move when the move order is “wrong”
Sometimes the kings have the right geometry, but the attacker is to move and an immediate king step lets the defender escape sideways. In that case, move the rook to another safe square on the same rank or file without breaking the barrier. This waiting move gives the turn back to the opponent and can force the king into the position where the next check shrinks the box. The same principle appears in instructional material on king and rook checkmate and in interactive king and rook versus king exercises.
What the final checkmate position looks like
In the simplest pattern, the defending king is on the edge. The attacking king is close enough to cover the escape squares on the neighboring rank, and the rook gives check along the edge.
| ♖ | ♚ | ||||||
| ♔ | |||||||
Position: White: king on g6 and rook on a8. Black: king on h8. The move Ra8# has already been played. The rook attacks h8 and g8; the white king controls g7 and h7. The black king is in check and has no legal square. This is checkmate.
The stalemate you need to recognize
Now compare it with a very similar position, but without check.
| ♚ | |||||||
| ♖ | |||||||
| ♔ | |||||||
Position: White: king on g6 and rook on g7. Black: king on h8, with Black to move. The black king is not in check. Even so, g8 is controlled by the rook, g7 is occupied by a rook protected by the white king, and h7 is controlled by the white king. Because there is no legal move, the game ends in a draw by stalemate.
This is the most important check before a quiet move near the edge: if I am not giving check, will the opposing king still have at least one legal square? If the answer is no, do not make the move.
A short sequence that shows why not every move should be check
Consider: White has a king on f6 and a rook on a1; Black has a king on h8; White to move. The strong move is Kg6!. It is not check. The black king is left with only Kg8. Then Ra8# ends the game. If a player searches for checks automatically, the endgame can become longer and the simple mating geometry can be lost.
FEN to reproduce: 7k/8/5K2/8/8/8/8/R7 w - - 0 1
Practical checklist
- Has the rook created a safe wall?
- Is my king moving closer to the opposing king?
- Will the next check actually drive the king toward an edge?
- Is the rook protected or far enough away that it cannot be captured?
- If my move is not check, will the opponent still have a legal move?
If the first three answers are yes and the last two conditions are under control, the position is usually following the correct plan. This method is more reliable than memorizing one fixed sequence because it works from many different starting positions.
Verification exercises
Exercise 1: mate in one
White: king on g6 and rook on a1. Black: king on h8. White to move.
FEN: 7k/8/6K1/8/8/8/8/R7 w - - 0 1
Question: what is the immediate checkmate?
Answer: Ra8#. The rook gives check on the eighth rank and the white king covers h7 and g7.
Exercise 2: identify the result
White: king on g6 and rook on g7. Black: king on h8. Black to move.
FEN: 7k/6R1/6K1/8/8/8/8/8 b - - 0 1
Question: checkmate or stalemate?
Answer: stalemate. The black king is not in check and has no legal move.
Exercise 3: find the quiet move
White: king on f6 and rook on a1. Black: king on h8. White to move.
FEN: 7k/8/5K2/8/8/8/8/R7 w - - 0 1
Question: which move prepares a simple forced mate?
Answer: Kg6!. Black is restricted to Kg8, and then Ra8#.
What to remember
King and rook versus king is not a race of checks. The rook builds the wall, the attacking king advances, the box gets smaller, and checkmate arrives on the edge. Near the end, the decisive question is always the same: is the opposing king in check? If not, confirm that there is still a legal square. That routine prevents stalemate and turns a basic endgame into a repeatable technique.
Sources and practice: FIDE Handbook, Laws of Chess; Chess.com, Checkmate With King and Rook; Lichess, King+Rook Checkmate.