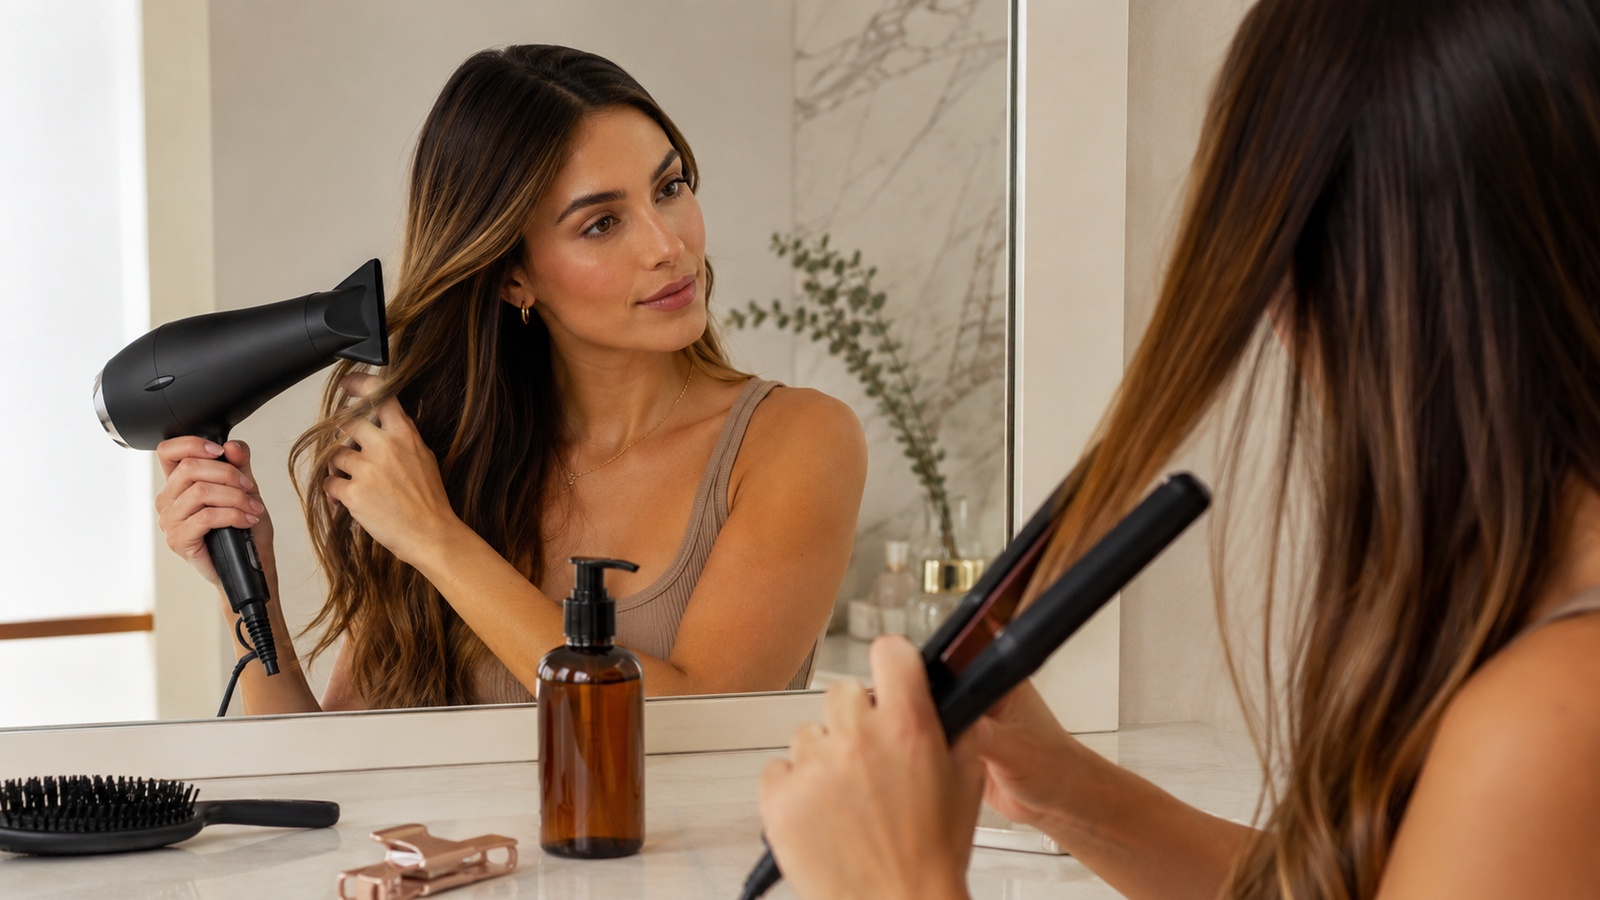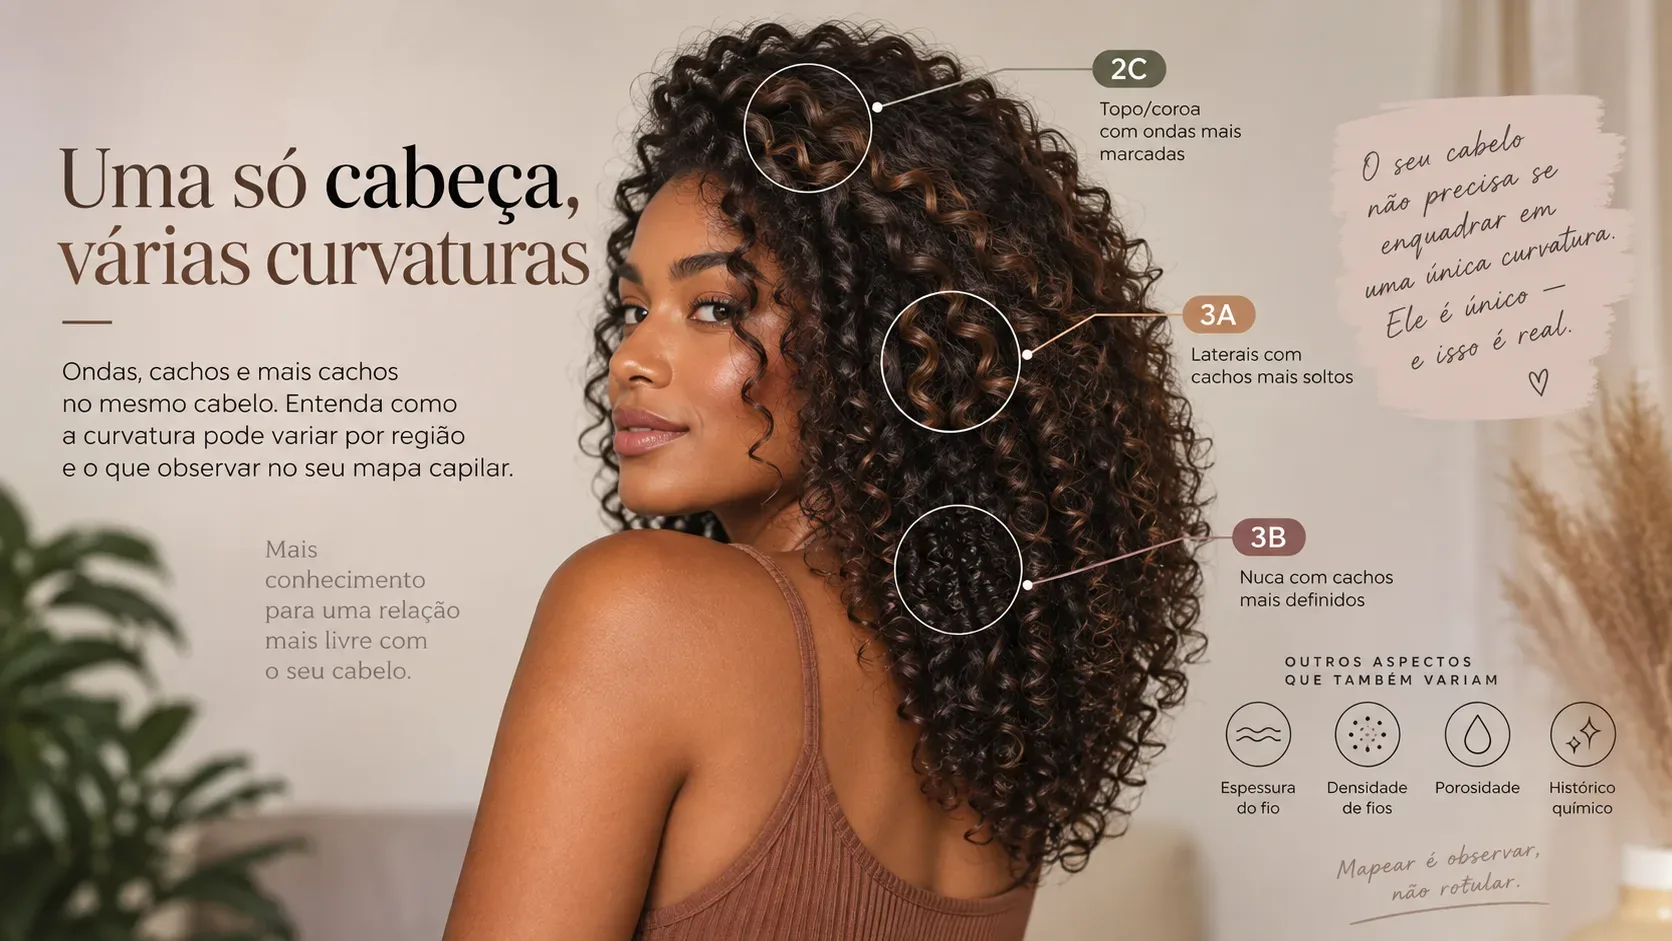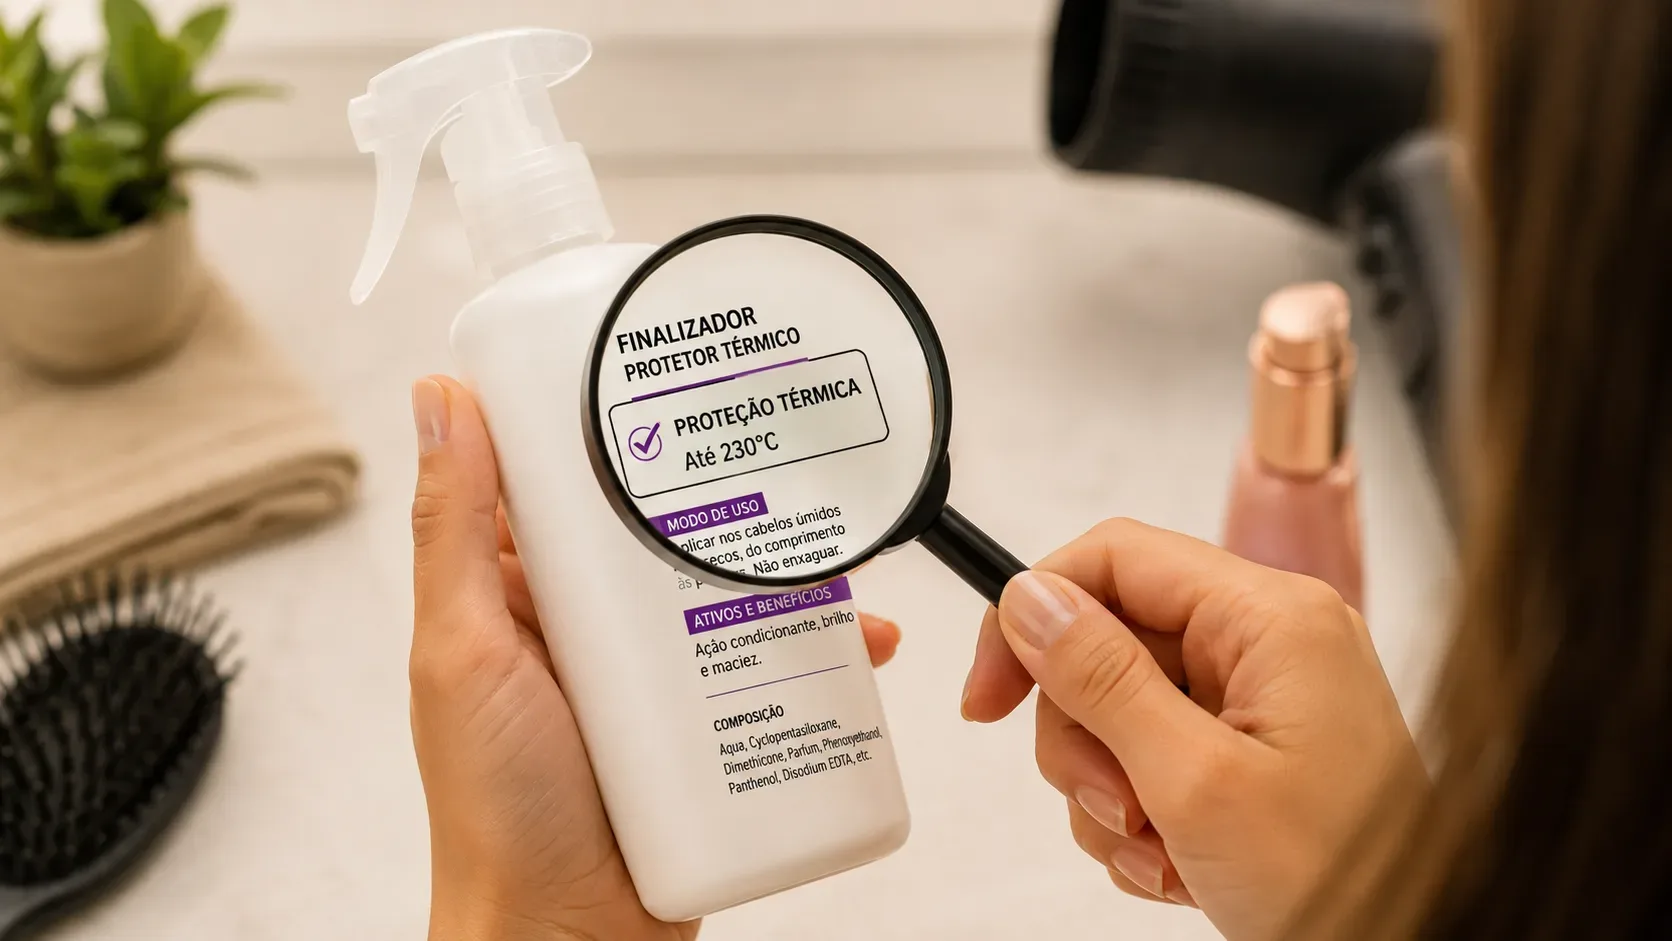
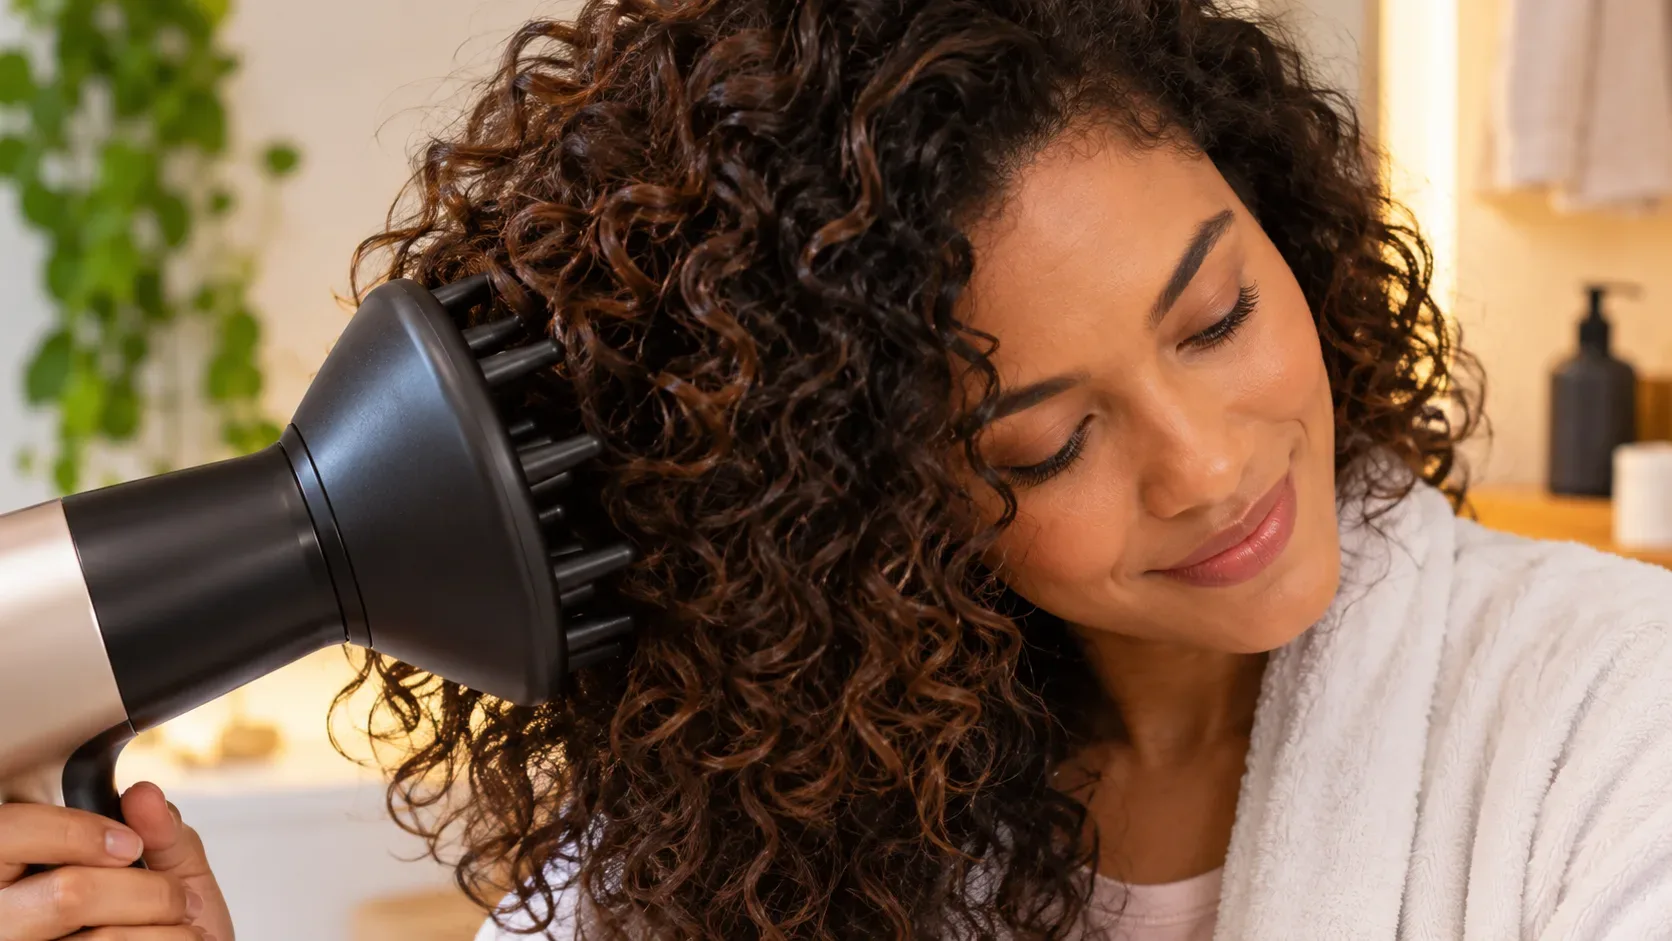
Yes. A diffuser can create or increase frizz when drying combines strong airflow, high heat, excessive proximity, or too much movement. That does not mean there is one perfect setting for every curl pattern. The most useful approach is to notice when the frizz appears and change one variable at a time.
As a starting point, diffuser guides commonly recommend low-to-medium heat and low airflow to reduce disruption of curl clumps. L'Oréal Paris recommends low or medium temperature and speed, while Dyson advises starting with low-to-medium heat and low airflow, then adjusting for hair thickness and moisture. These are useful reference points, not rigid rules.
What usually causes frizz while diffusing
A diffuser spreads air over a wider area than a concentrator nozzle, but the airflow still exerts force on the hair. If that force breaks apart the clumps created during styling, flyaways can appear before the hair is even dry. The same can happen when you keep moving the diffuser, repeatedly press it into and pull it away from the hair, or touch curls while they are still damp.
Heat is another part of the diagnosis. An experimental study of hair dryers — not specifically diffusers and not specifically curly hair — found more surface damage as temperature increased. In that experiment, the temperature measured near the hair also increased as the dryer was moved closer. The authors observed less damage when the dryer was used at 15 cm with continuous movement than under the higher-temperature conditions. The study is available through PMC/Annals of Dermatology. This supports a general principle: the hotter and more concentrated the exposure, the more cautious you should be. It does not make 15 cm a mandatory diffuser distance.
Diagnostic matrix: symptom, likely variable, and adjustment
| Symptom during drying | Likely variable | Adjustment to test |
|---|---|---|
| Frizz appears as soon as airflow hits the curls | Airflow is too high or is moving the curl clumps | Lower the speed first. Work in sections and avoid sweeping the diffuser across the hair. |
| Lengths feel rough or hot before they are fully dry | Heat is too high, distance is too short, or one area is exposed too long | Lower the heat, increase distance slightly in hover mode, and rotate between areas. |
| Roots remain wet while the ends are already dry | Heat and airflow are distributed unevenly | Use more sections and target the roots without overheating one spot. |
| Curls are defined but flatter than you want | The technique is too conservative for a volume goal | Tilt your head, lift the roots, or finish the roots separately. More volume may come with some additional visible frizz. |
| Drying takes too long | Hair is too wet, sections are too large, or settings are too low | Remove excess water without rubbing, use smaller sections, and test medium heat before jumping to maximum speed. |
| Frizz appears only at the end when you touch the hair | Manipulation before the hair is fully dry or breaking the styling-product cast too early | Avoid touching while moisture remains. Scrunch or separate curls only after they are dry. |
Temperature: hotter is not automatically better
If your main goal is definition with less frizz, starting with low or medium heat is usually easier to control. Fine, bleached, porous, or already sensitized hair gives you even more reason to be cautious with heat. Very dense hair or hair that holds a lot of water may simply need more time; in that case, moving from low to medium heat can be more efficient than compensating with very strong airflow.
A common mistake is trying to shorten drying time with maximum heat and maximum speed at the same time. That may speed evaporation, but it also raises the chance of disrupting curl shape and concentrating heat in one area. If your scalp or the attachment feels uncomfortably hot, lower the temperature and follow the safety instructions for your dryer.
Airflow speed: the first variable to lower when frizz appears quickly
When frizz shows up almost immediately, airflow speed is often the easiest variable to test. Strong airflow can separate sections that were grouped by cream, gel, or mousse. That is why many diffuser guides use low airflow as their baseline.
This does not mean high speed is always “wrong.” It can be useful for speeding up a stage or creating more volume, depending on the appliance, density, and desired finish. The key is matching speed to the goal. To preserve the pattern created during styling, less turbulence is generally more predictable.
Distance: think about heat exposure, not a magic number
There are two common ways to use a diffuser: hovering it near the hair without scooping the curls, or placing part of the curls inside the diffuser bowl. A single distance in centimeters therefore cannot describe every technique.
In hover mode, moving the diffuser a little farther away usually reduces the thermal intensity reaching the hair. When curls are placed inside the bowl, the better rule is to avoid keeping one hot area in place for too long and not to press heated parts of the appliance against the scalp. Diffuser design and manufacturer guidance vary, so the instructions for your specific model take priority.
Movement and handling can matter as much as the settings
Even with moderate heat and speed, constantly moving the diffuser can break apart curl clumps. A more controlled approach is to position one section, hold it briefly, and then move deliberately to another area rather than shaking the attachment around the head.
If you scoop the ends into the bowl, try arranging the section before moving the diffuser toward the roots. Some people also prefer to switch off or reduce airflow while moving between sections to avoid blasting damp curls from the side. That is a control technique, not a requirement.
Definition, volume, and drying time are different goals
- More definition: low airflow, low-to-medium heat, minimal manipulation, and waiting until the hair is dry before separating curls.
- More volume: head tilting, root lifting, and some movement can help, but they may increase visible frizz. That can be a desired result rather than a mistake.
- Less drying time: remove excess water without friction, work in smaller sections, and test medium heat. Raising airflow alone may dry faster but can disrupt the pattern more.
Treating “less frizz” as the only correct outcome ignores personal preference. Fuller, less-defined hair may be exactly the look you want. Diagnosis should start from your desired finish, not from a universal idea of perfect hair.
Before blaming the diffuser, check what happened before drying
Frizz that becomes visible during drying may have started before the dryer was switched on. Rubbing hair with a towel, aggressive detangling, uneven product application, or repeatedly touching wet hair can make curl formation less stable. A microfiber or cotton cloth used by pressing rather than rubbing can remove excess water with less friction.
Product amount matters too. Too much cream can extend drying time considerably; too little hold can allow clumps to fall apart as water evaporates. Humidity, chemical history, and porosity also change hair behavior, so two people with similar curl patterns may still need different settings.
How to find your settings without changing everything at once
- Keep your usual washing and styling routine the same.
- Start with low or medium heat and low airflow.
- If frizz appears immediately, change only the airflow speed or how you move the diffuser.
- If the problem is uncomfortable heat, roughness, or ends drying too quickly, adjust temperature and distance.
- If the result is too defined and lacks volume, change the root technique instead of increasing every setting.
- Repeat the test on another wash day before drawing a conclusion, because water amount, product, and weather can change the result.
This step-by-step test turns drying into a simple diagnosis: immediate frizz points first to airflow and handling; uncomfortable heat points to temperature, proximity, and time in one spot; slow drying points to starting moisture, section size, and only then power. That makes the diffuser less of a trial-and-error tool and more of an adjustable tool for your hair and your preferred finish.