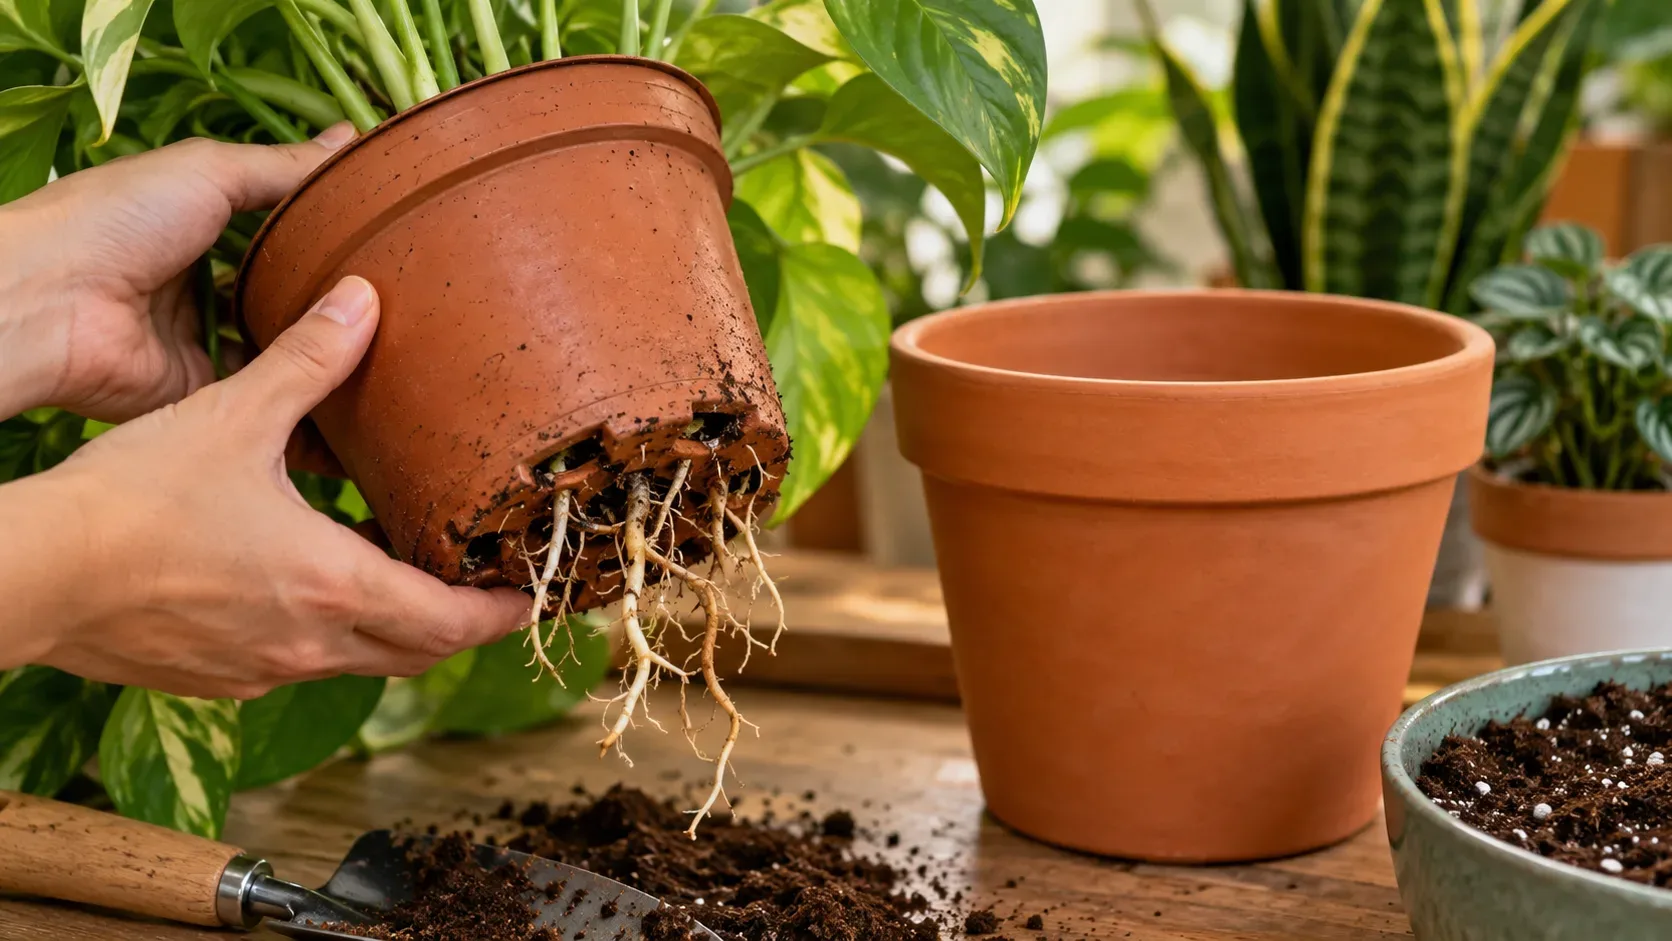
Seeing one or two roots growing out of drainage holes is a reason to investigate, not an automatic order to move the plant to a bigger pot. With houseplants, the decision is more reliable when that sign appears together with others: the potting mix dries much faster than usual, the plant wilts between normal waterings, growth slows, or the root ball shows tightly circling roots that occupy nearly all available space. Penn State Extension specifically recommends removing the plant and examining the root system when roots appear through drainage holes; if roots circle the root ball or are so dense that little potting mix is visible in the lower portion, repotting is warranted.
A root in a drainage hole is not the same as a fully root-bound plant
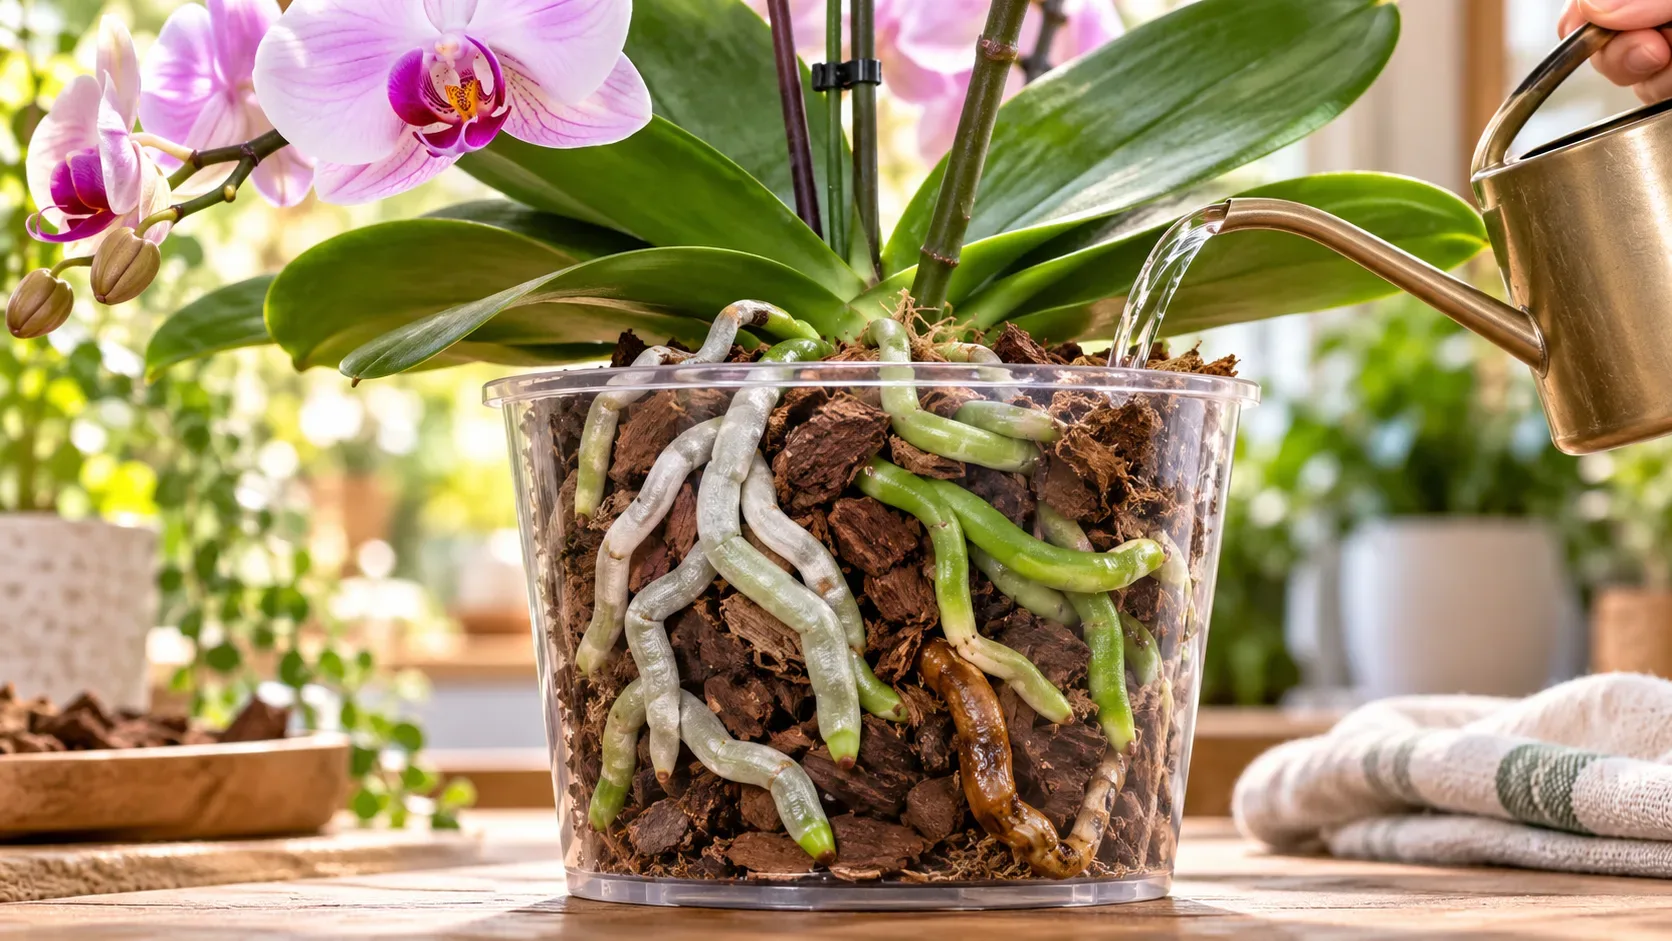
Roots grow in search of water, air, and space, and they can reach a drainage hole before the entire pot is packed with roots. That is why a single white root tip underneath the pot should be treated as a signal to check. Diagnosing a root-bound or pot-bound plant depends on the combination of symptoms and, when possible, inspection of the root ball.
- Mild sign: a few roots appear through the holes, but the mix still holds moisture for a normal period and growth remains steady.
- Moderate sign: the pot dries much faster than before, watering is needed more often, and roots appear through several holes.
- Strong sign: once removed, the root ball is wrapped in dense roots, roots circle the pot wall, or roots have replaced much of the visible potting mix.
This approach is consistent with guidance from Penn State Extension, Illinois Extension, and University of Minnesota Extension, which pair roots at drainage holes with other signs such as circling roots and unusually fast drying.
Checklist: when repotting is worth it
| What to look for | What it may mean | Next step |
|---|---|---|
| One or two roots coming out of the bottom, with no other symptoms | The roots may simply be exploring available space | Watch watering behavior and, if unsure, inspect the root ball before upsizing |
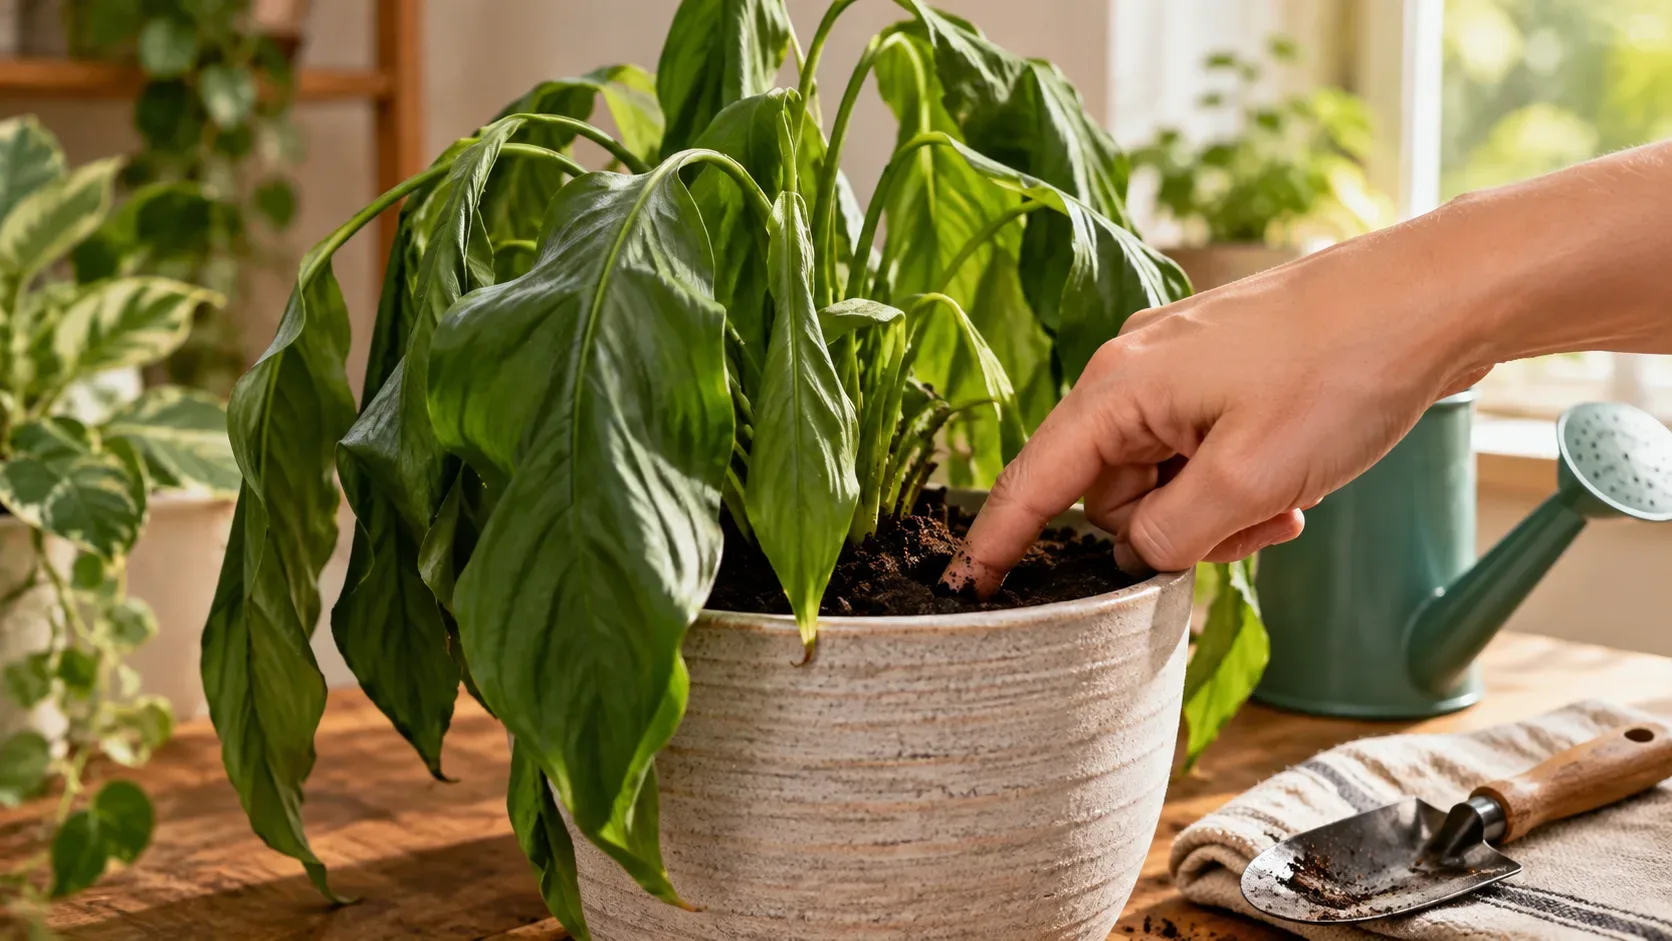
| Potting mix dries very quickly under otherwise similar conditions | There may be less potting mix relative to the amount of roots | Remove the plant and check root density |
| Roots circle the root ball or form a compact mass | The plant is probably root-bound | Repot into a container only slightly larger |
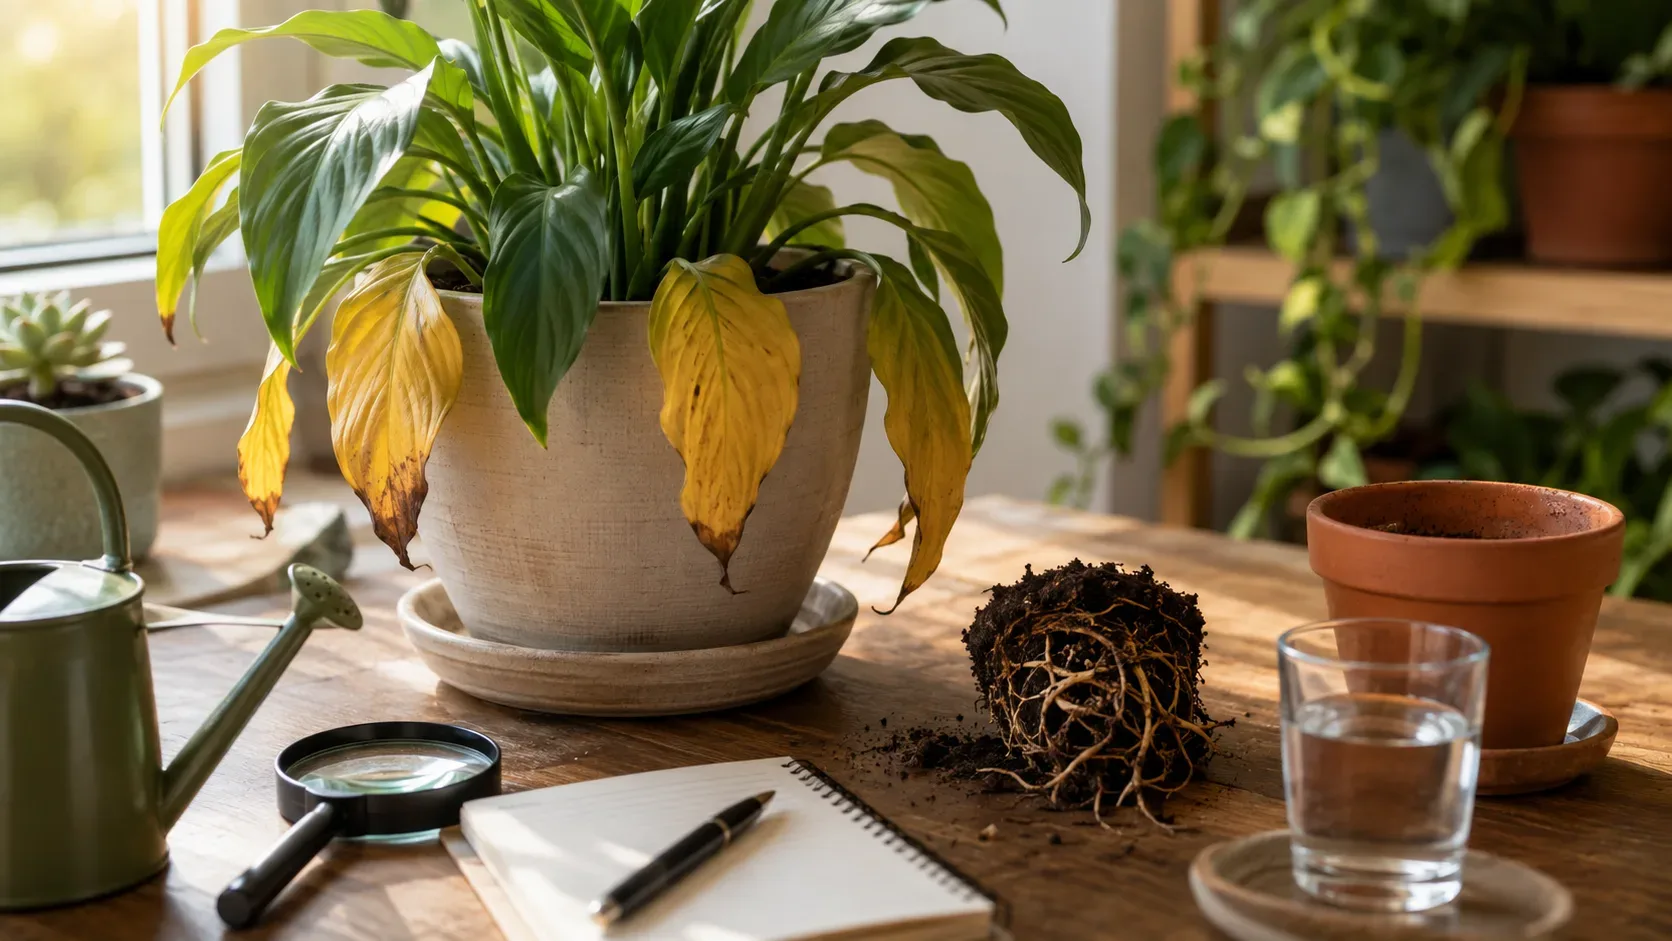
| Growth slows and new leaves are smaller, with no other obvious cause | Root restriction may be contributing | Check roots, light, watering, and nutrition before concluding |
| The pot cracks, deforms, or the plant becomes unstable | The container may be too small for the plant mass | Repot and reassess container size and stability |
How to confirm instead of guessing
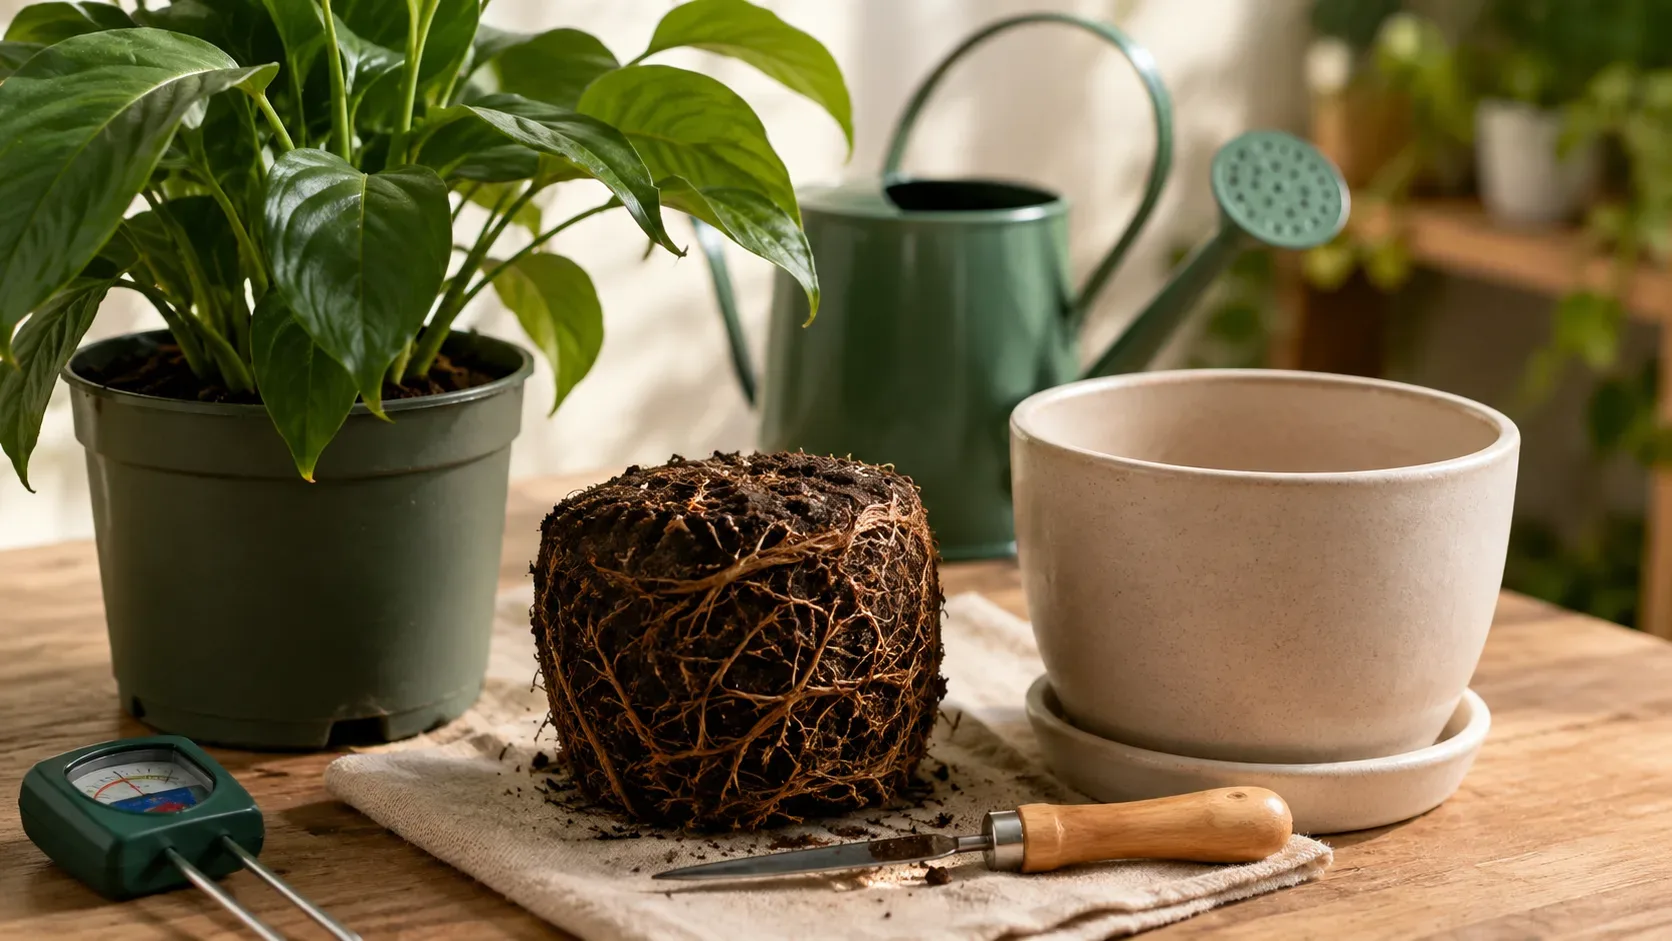
If the plant tolerates handling and the root ball slides out without major resistance, hold the plant at the base, tilt the pot, and ease the root ball out. There is no need to break apart the entire root ball. Look mainly at the sides and lower third. If plenty of potting mix is still visible between roots and the roots are not tightly circling, there may be no urgent need to move up a size.
If roots wrap around the root ball, are heavily compressed, or form a thick layer at the bottom, space is genuinely limited. Penn State advises gently teasing apart densely matted or circling roots before settling them into fresh mix. Illinois Extension likewise recommends cutting and/or unwinding circling roots on root-bound plants.
What size pot should you choose?
The safest rule is to move up one size, not several. For many houseplants, that means choosing a pot about 1 to 2 inches (2.5 to 5 cm) wider in diameter than the current container. Illinois Extension gives 1 to 2 inches as a practical reference, while University of Minnesota Extension also recommends a moderate increase and warns against oversized pots.
- Measure the current pot diameter across the top rim from one side to the other.
- Add about 1 to 2 inches (2.5 to 5 cm) for the next size for a typical houseplant.
- Confirm drainage: the new container should have holes that let excess water escape.
- Test the root ball in the new pot: it should fit with a moderate band of room for fresh mix around it, not look lost inside a large volume of soil.
For larger specimens, some extension guidance allows an increase of up to 2 to 3 inches (5 to 7.5 cm) in diameter, but the principle stays the same: increase gradually. The exact size also depends on the species, potting mix, container material, and how quickly the plant uses water.
Why an oversized pot can make things worse
The problem is not extra space by itself; it is the relationship between potting-mix volume, root mass, and drying time. When a small plant goes into a much larger container, a large portion of the mix sits beyond the zone occupied by active roots. That extra volume can stay wet longer. The UConn Home & Garden Education Center warns that upsizing when it is not needed can keep soil from drying properly and promote root rot; Illinois Extension similarly explains that soil in an oversized pot can remain wet for too long.
Roots need water, but they also need oxygen. Constantly saturated potting mix reduces aeration and increases the risk of root problems. That is why drainage holes and a moderate size increase work together: drainage lets excess water leave, while gradual upsizing avoids creating an unnecessarily large wet reservoir around a still-small root system.
Simple repotting steps
- Choose a slightly larger pot with drainage holes.
- Use a light container potting mix suited to the plant; avoid packing it down too firmly.
- Remove the plant and inspect the root ball. Gently loosen roots that are tightly circling or matted.
- Add enough fresh mix underneath so the plant sits at about the same depth as before.
- Fill around the sides without compacting the mix. Leave some room below the rim for watering.
- Water thoroughly after repotting and let the excess drain completely.
Penn State Extension emphasizes that potting mix should not be compacted enough to restrict water and air movement and that the plant should drain well after repotting.
What if the plant needs fresh mix but not a bigger pot?
Not every repotting job requires a size increase. UConn notes that many plants can go back into the same size pot when they are not truly root-bound. Depending on the species, you can also refresh some of the potting mix, divide a plant that tolerates division, or manage roots and top growth when the goal is to keep the plant compact.
In practical terms, the decision is simple: a root at a drainage hole calls for inspection; a densely occupied root ball calls for repotting; the next pot should be only moderately larger. This approach reduces both the risk of keeping a plant too cramped and the opposite mistake of placing it in a container that stays wet for too long.