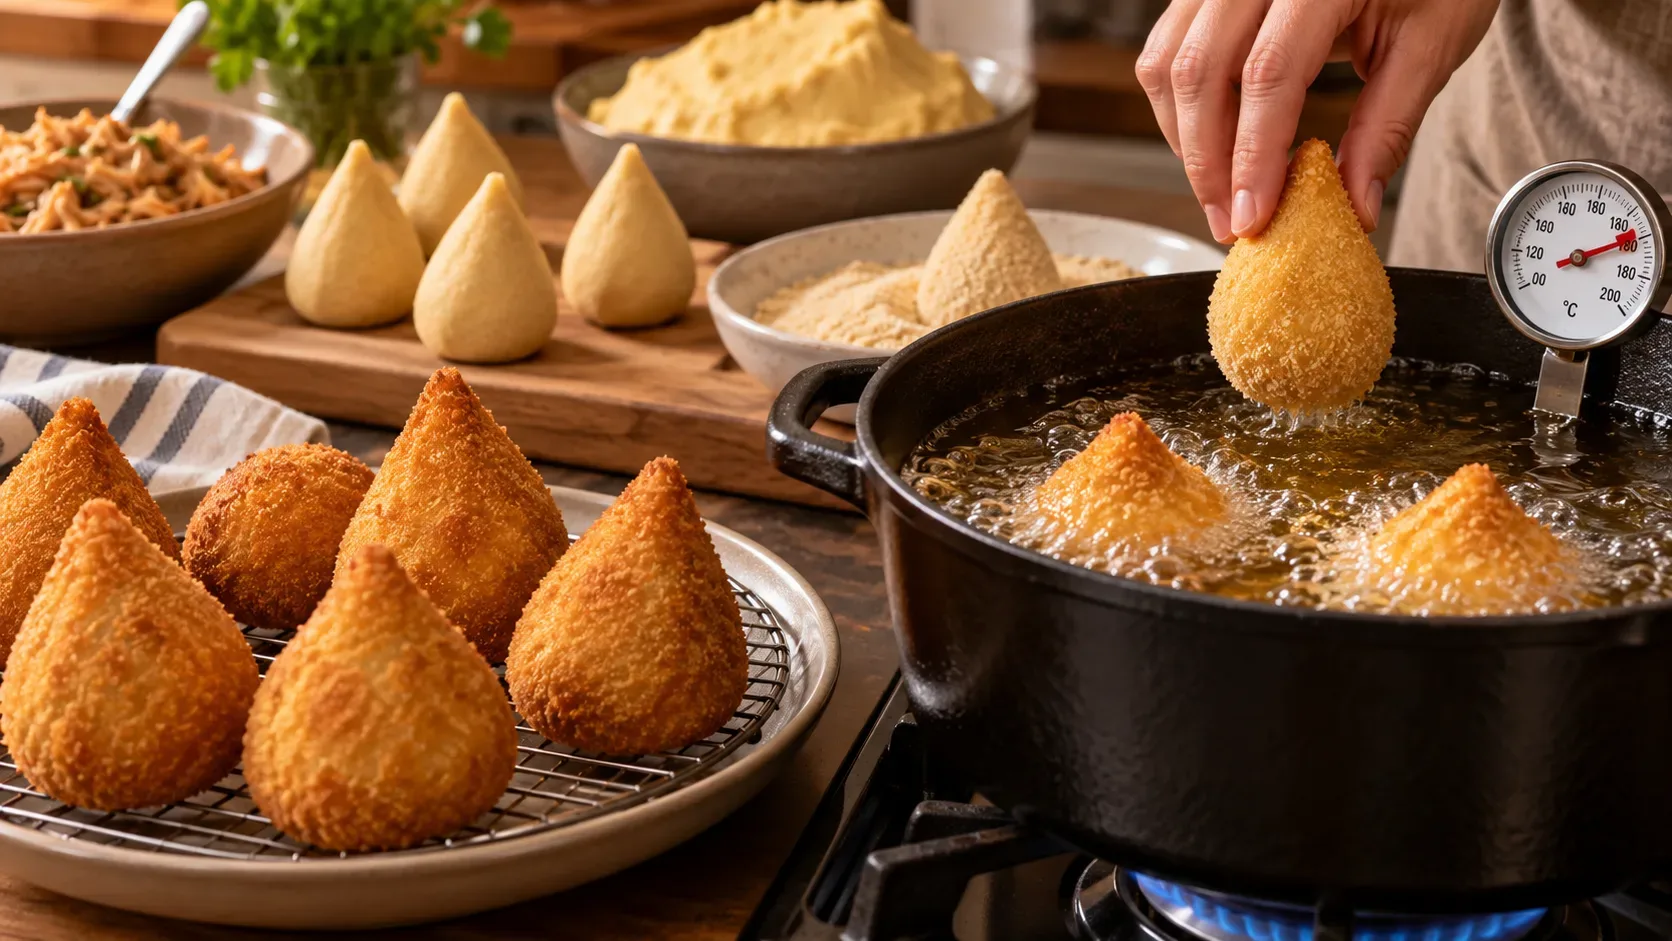
When a coxinha bursts while frying, the problem is rarely one single detail. Splitting usually happens when two or more factors combine: dough that is still too wet or undercooked, hot or watery filling, trapped air during shaping, a weak seam, patchy breading, and oil outside the proper temperature range. The goal, then, is to build a structure that reaches the oil already firm and forms a crust quickly without creating excessive internal pressure.
Getting the dough right comes before any frying trick
The dough needs enough cooking time for the flour to hydrate and for excessive stickiness to disappear. In reference recipes, the flour is added to hot liquid and the dough remains over the heat until it becomes homogeneous and pulls away from the bottom of the pan. It is then worked while still warm until smooth. This is a more useful cue than following time alone, because pans, burners, and batch sizes vary from kitchen to kitchen.
If the dough comes off the heat soft, sticky, and lacking body, the coxinha shell is more vulnerable when steam expands during frying. Receitas Nestlé also advises against fixing sticky dough by adding raw flour at the end, because that can make the texture dry and unbalanced. Before changing the ratio, cook it properly and then knead it on a lightly greased surface until uniform.
Practical signs that the dough is ready to shape
- it forms a cohesive mass in the pan instead of looking like a thick cream;
- it pulls away from the bottom as you stir and has no separated liquid;
- after cooling slightly and being worked, it is smooth, flexible, and only minimally sticky;
- it opens in the hand without cracking at the edges and without slumping or deforming on its own.
If it is so dry that it cracks when opened, the seam will also be fragile. The safe point is a pliable dough with enough structure to hold its shape.
Cold, drier filling reduces the risk of internal pressure
The filling should not be hot when it goes into the dough. Besides softening the inner wall, a hot and very wet filling increases the amount of steam produced as soon as the coxinha enters the oil. The Receitas Globo recipe tells cooks to set the chicken aside after sautéing, while other versions instruct cooking the filling until the broth dries and letting it cool before shaping.
This does not mean making the filling dry. It can still be creamy or juicy as long as there is no loose liquid running out. If sauce collects at the bottom of the bowl, it tends to migrate into the dough and weaken the very area that needs to seal.
The seal must push out air, not merely join the edges
An air pocket acts like a small expansion chamber. As the inside heats up, air and steam raise the pressure and look for the weakest point. That is why simply pinching the tip is not enough: when closing the dough around the filling, press gently to remove empty spaces and only then finish the seam.
Avoid overfilling. If the dough has to be stretched too far to close, thin areas, microcracks, and tension at the seam appear. The shell should be even all the way around, with no translucent or paper-thin spots.
A shaping sequence that helps
- flatten a portion of dough with an even center and edges;
- add fully cooled filling with no loose broth;
- bring the dough together around the filling without trapping air;
- press the join until the seam line disappears;
- shape the point without making it too thin;
- run your hand around the coxinha and check for cracks before breading.
Breading must be continuous and well adhered
The breading layer acts as an outer shield, but it works best only when it covers the whole surface and adheres to the dough. More than one method can work. Receitas Globo shows one version using milk, egg, and breadcrumbs; another recipe from the same portal uses ice-cold water with cornstarch before the breadcrumbs. The key is to choose a tested method and leave an even coating, with no bare patches and no pools of excess liquid.
After breading, a short chilling period helps firm the surface. Receitas Nestlé suggests 15 to 20 minutes in the refrigerator, while the cited Receitas Globo recipe freezes the coxinhas for 1 hour before frying. Those times belong to different recipes: use them as technique references, not as a universal rule. Chilling helps, but it will not fix undercooked dough, wet filling, or a poor seal.
Oil temperature: work between 170 and 180 °C (338–356 °F)
For coxinhas, 170 to 180 °C is a consistent practical range. A target near 175 °C makes control easier: there is enough heat to set the crust without browning the outside too quickly. Receitas Nestlé warns that oil below 170 °C favors fat absorption before the shell sets, while excessively hot oil can brown the outside before the center is heated through.
A thermometer is more reliable than judging bubbles alone. After adding a batch, watch how the temperature recovers. Too many coxinhas at once pull heat from the oil and can turn a fry that started correctly into a cold fry halfway through.
How to read the signs while frying
- Moderate bubbling and gradual browning: expected behavior.
- Crust darkens very quickly: the oil is probably too hot.
- Coxinha stays pale, takes a long time, and feels greasy: the oil is too cool or the pot is overcrowded.
- A crack appears immediately after it enters the oil: check for a weak seam, trapped air, soft dough, or a weak spot in the breading.
Troubleshooting tree: what to review when a coxinha opens
| Symptom | Likely cause | What to review in the next batch |
|---|---|---|
| Opens exactly along the seam | Incomplete sealing or trapped air | Remove air pockets and smooth the seam completely before breading |
| Cracks anywhere on the side | Dough too soft, a thin spot, or discontinuous breading | Confirm the dough is properly cooked, keep the shell even, and cover gaps in the breading |
| Liquid filling leaks out | Hot filling or loose broth | Cool completely and reduce free liquid before shaping |
| Turns greasy and soft | Oil below the range or too many coxinhas per batch | Return to 170–180 °C and fry smaller batches |
| Browns quickly while the inside is still cool | Oil too hot | Lower the heat and stabilize the temperature before the next batch |
| Breading falls away | Poor coverage, excess liquid, or too little time to firm | Make the coating even and chill the breaded coxinhas before frying |
A simple protocol for the first batch
Before frying everything, treat two or three coxinhas as a test batch. Heat the oil and stabilize it near 175 °C, fry only a few pieces, and watch where the first sign of failure appears. If they split at the seam, return to shaping; if they come out greasy, adjust the temperature and batch size; if they brown too fast, lower the heat. This test costs less than losing a full tray.
If the first batch works, keep the same size, breading method, and frying pace. Repeatability matters: changing the coxinha size or crowding the pot changes heat transfer and may require a new adjustment.
Hot-oil safety
Deep frying requires continuous attention. The USDA Food Safety and Inspection Service advises keeping water away from hot oil, avoiding overcrowding, and never leaving frying unattended. The London Fire Brigade recommends, when using a pan, filling it no more than one-third with oil, keeping food dry, and turning off the heat if the oil begins to smoke.
Never throw water on an oil fire. If the oil smokes, stop heating and let it cool. Use appropriate long utensils, keep the pan handle in a safe position, and let the oil cool before moving or disposing of it.
Checklist before frying
- well-cooked, smooth, shapeable dough;
- fully cooled filling with no loose liquid;
- coxinhas with no air pockets, cracks, or visible seams;
- even, well-adhered breading;
- breaded coxinhas chilled if the chosen method calls for it;
- oil stabilized between 170 and 180 °C;
- batches small enough for the oil temperature to recover;
- a stable pan, dry work area, and continuous supervision.
If these points are consistent, the chance of a coxinha splitting drops substantially. The best diagnosis comes from watching where and when the failure occurs: those clues show whether the problem started in the dough, filling, seal, breading, or oil control.