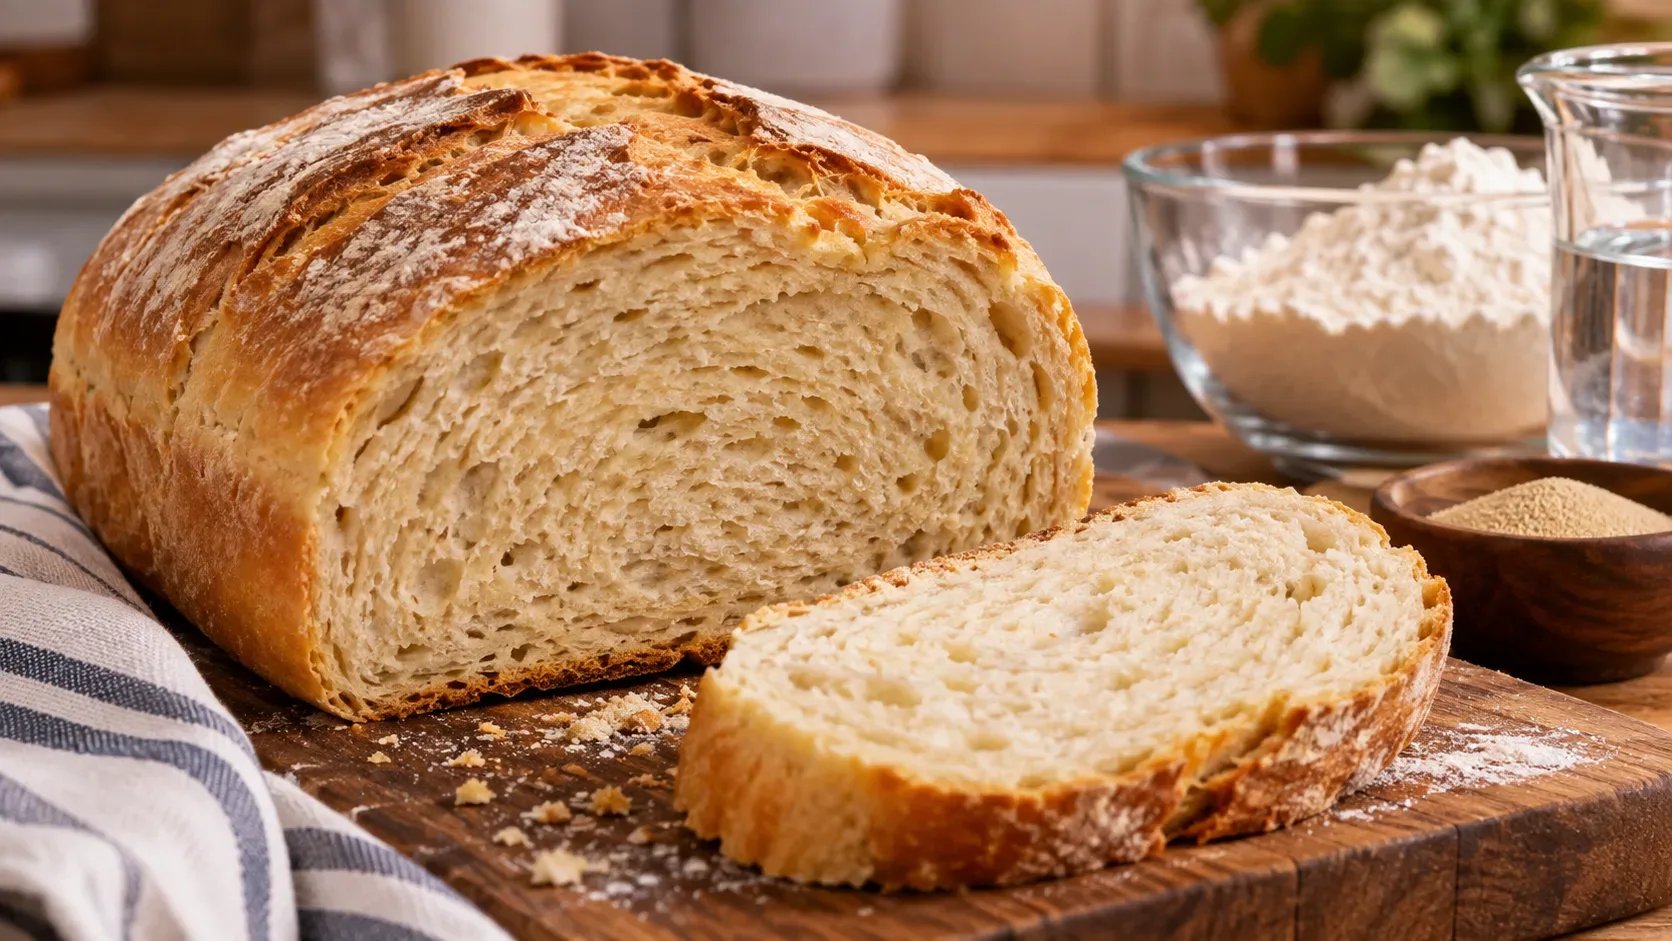
If homemade bread turned out heavy, first note when the dough stopped gaining volume and what the crumb looked like after cooling. Dough that barely rises points first to insufficient proofing, inactive yeast, or overly stiff dough; dough that expands and then collapses suggests overproofing or weak structure; a browned crust with a damp center calls for a doneness check. No single clue is conclusive: hydration, dough development, fermentation, and oven heat interact.
Read the clues before changing the recipe
| Observed sign | Possible causes to check | Next check |
|---|---|---|
| Low loaf and tight crumb with few air pockets | Underproofing, inactive yeast, or too little water | Compare volume during both rises and check whether the dough felt stiff. |
| Split crust, dense patches, and isolated large holes | Baked before final proof was complete; shaping may also be involved | Review final proof and how gas was distributed during shaping. |
| Very puffy dough that sags or collapses during baking | Overproofing and loss of support | Check whether the dough felt fragile and the finger indentation failed to recover. |
| Dry, crumbly crumb and low loaf | Too much flour or too little liquid | Check ingredient weights and flour added on the work surface. |
| Brown crust but gummy center or raw-dough appearance | Underbaking or slicing before cooling | Measure the center temperature and let the loaf cool completely. |
The hole pattern is useful but not definitive: flour type, shaping, fat content, and the intended style of bread also affect the crumb.
1. Fermentation: too little time or too much?
During bulk fermentation, track expansion and signs of gas in a clear container. During final proof, look for volume, lightness, and the dough’s resistance. Recipe times are guides, not absolute timers: dough and room temperature affect the pace. King Arthur Baking notes that baking either too early or too late can produce a dense loaf.
How to read the poke test
- Once the loaf is shaped, gently press a floured area of dough. If the mark springs back very quickly and the dough still feels firm, it probably needs more time.
- If the mark returns slowly and partly while the dough feels airy, that suggests an appropriate proof.
- If the dough is fragile, sinks, or does not recover, consider overproofing. This test is indicative and varies with hydration, temperature, and ingredients.
If the dough does not rise at all, check the yeast’s date and storage, the amount used, and whether it met excessively hot liquid. In a cold room, fermentation may simply be slow. Avoid trying to make up for every delay with intense heat, which makes the endpoint harder to control.
2. Hydration: stiff dough is not necessarily well-kneaded dough
Too much flour relative to liquid produces stiff dough, limits expansion, and can give a dry, tight crumb. Cup measurements vary depending on how flour is packed, so weighing ingredients makes batches easier to compare. Do not add large amounts of flour merely to eliminate all stickiness: some doughs are meant to be soft or tacky.
For a simple flour-and-water formula, hydration equals water weight divided by flour weight, multiplied by 100. For example, 300 g of water and 500 g of flour yield 60% hydration. This calculation alone does not fully describe dough containing milk, eggs, potatoes, or other ingredients that also affect moisture and structure.
If the dough felt dry from the start, check the weights before changing the liquid. If it was overly slack and spread outward, there may have been too much water for the flour, insufficient structure development, or overproofing. Do not automatically adjust the formula based only on the baked loaf’s appearance.
3. Structure: can the dough hold the gas?
Yeast produces gas, but rise also depends on a network that retains it. In wheat dough, mixing, kneading, or folding as directed by the recipe helps develop that structure. Dough that tears easily and does not become elastic calls for a review of technique and resting; very wet dough may need folds rather than more flour. Whole-grain flours and low-gluten blends behave differently from white flour, so not every bread should be judged by the same open-crumb standard.
4. Oven: a browned outside does not guarantee a baked center
Preheat the oven as specified and do not put the loaf into an unheated oven if the recipe calls for a hot start. If the crust darkens before the center sets, investigate actual oven temperature, rack position, pan, and loaf size; shield the surface where the recipe permits rather than treating crust color as proof of doneness. A thermometer inserted in the center provides another check: for many yeasted wheat loaves, King Arthur Baking uses around 88 °C (190 °F) as a reference, but the target depends on the bread and formula.
After baking, transfer the loaf to a rack and let it cool before slicing. The crumb continues to set and release moisture; slicing while hot can make it seem gummy even when it was adequately baked.
How to fix the next loaf without changing everything at once
- Record the recipe in grams, flour type, yeast, liquid, and any extra flour worked in while kneading.
- Note approximate room temperature, dough appearance at the start and end of each rise, and the poke-test result.
- Check whether the dough developed strength through mixing, kneading, or folds, instead of treating extra flour as a universal fix.
- Preheat, follow the specified pan and loaf size, check the center, and wait until the bread cools before assessing the crumb.
- On the next attempt, change the variable that best matches the observed clues first. That makes it easier to identify what improved the result.
A tighter crumb can be entirely appropriate for a particular homemade loaf. The issue to investigate is the gap between the expected and actual texture, not the absence of large holes.
Sources and references
- King Arthur Baking: Why didn’t my bread rise?
- King Arthur Baking: How to tell if bread dough has risen enough
- King Arthur Baking: How to measure flour the right way
- King Arthur Baking: How to tell if bread is done baking
- King Arthur Baking: Using a thermometer with yeast bread
- The Perfect Loaf: The Ultimate Guide to Proofing Bread Dough