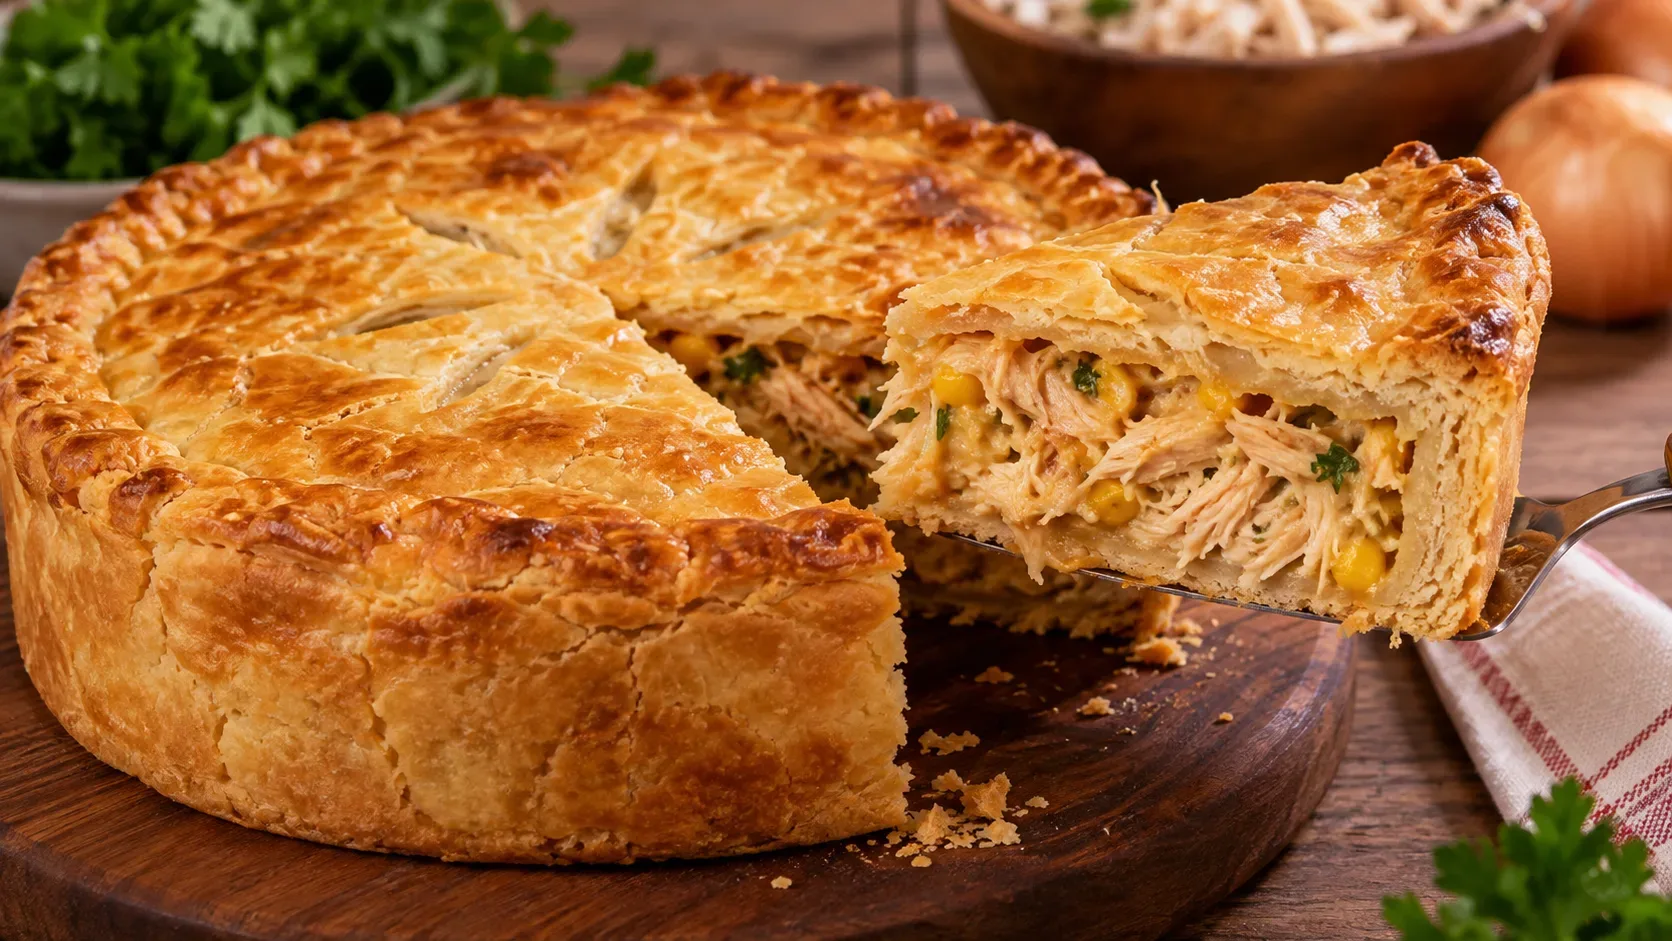

A blender chicken pie becomes heavy when the batter develops more structure than it can expand in the oven. That can happen because of too much flour, prolonged mixing after the flour is added, weak leavening, an overly wet filling, or a center that is removed before it has set. For a lighter batter, control the ratio, limit blender time, and assemble the pie with a cool, well-reduced filling.
Batter ratio for a light pie
For a rectangular pan about 23 x 32 cm, use this base:
- 3 eggs
- 2 cups milk
- 1/2 cup oil
- 2 cups all-purpose flour
- 1 tablespoon baking powder
- 1 level teaspoon salt
- 2 tablespoons grated Parmesan, optional
This ratio of 3 eggs, 2 cups milk, 1/2 cup oil, and 2 cups flour appears in published blender pie recipes and produces a pourable batter that can still support the filling. As a reference, Receitas Globo publishes a base with these same main quantities. Receitas Nestlé also uses a preheated oven and chemical leavening in its blender chicken pie, although with a different flour and oil ratio.
Filling: flavorful, without excess water
Use about 450 g of cooked, shredded chicken. Sauté it with onion, tomato with excess seeds removed, corn, and seasonings to taste. If you use tomato sauce, cream cheese, cream, or vegetables that release water, cook until the filling is moist, not liquid. Then let it cool before assembly.
A hot or very wet filling slows the baking of the surrounding batter and can create a damp band in the center. Also avoid piling all the chicken in the middle of the pan. Receitas Nestlé itself lists a heavy filling concentrated in the center as one cause of sinking in blender pies.
The mixing order matters
- Preheat the oven to 180 °C and have the greased pan ready before making the batter.
- Blend the liquids first: eggs, milk, oil, and salt for about 20 to 30 seconds, only until uniform.
- Add the flour in two additions. Use short pulses or low speed and stop as soon as no dry flour remains. Do not let the blender run for minutes after the flour has gone in.
- Add the baking powder last. Fold it in with a spatula or use only two or three quick pulses.
- Assemble without delay. Pour in half the batter, distribute the cool filling in an even layer, and cover with the remaining batter.
The purpose of reducing mixing after the flour is added is to avoid excessive gluten development. In guidance for savory baked batters, Receitas Nestlé recommends avoiding overmixing after adding flour and adding the baking powder at the end, mixing gently.
What the batter should look like before baking
The batter should pour from the blender jar in a thick, continuous ribbon. It should not resemble bread dough, and it should not be as thin as milk. When you drag a spatula through it, the surface should level again within a few seconds.
If the batter is very thick, first check whether the flour was measured without packing it down. If the measurement is correct and the batter is still stiff, add milk gradually, one tablespoon at a time, only until it becomes pourable again. If it is too thin, do not correct it by dumping in a large amount of flour at once, because that increases the risk of a dry, heavy pie.
Assembly that helps the center bake through
A very small pan makes the pie deeper and increases the distance heat must travel to the center. For this quantity, a pan around 23 x 32 cm spreads the batter more effectively. Distribute the filling almost to the edges instead of building a mound in the middle.
If the filling contains cream cheese or another creamy ingredient, distribute it in small portions rather than making one thick central layer. The center should have a batter-to-filling balance similar to the rest of the pan.
Oven doneness: when the pie is actually baked
Bake on the center rack in a preheated 180 °C oven for about 35 to 45 minutes. The time is a range because pan material, pie depth, and oven calibration change the baking rate.
Avoid opening the oven door during the first 30 minutes. After that, look for three signs together:
- the top is golden and firm, not just browned around the edges;
- the center does not wobble like liquid when the pan is moved carefully;
- a toothpick inserted into an area of batter near the center comes out without raw batter, although a few moist crumbs are fine.
If the top is already browned but the center is still soft, keep baking for another 5 to 10 minutes and, if needed, cover the top loosely with foil. Removing the pie too early favors a sunken center and a damp layer.
If it turned out heavy, gummy, or wet, check this
| Problem | Likely causes | How to correct it next time |
|---|---|---|
| Heavy or rubbery batter | Too much flour or batter mixed too long after the flour was added. | Measure without packing, add flour in stages, and stop mixing as soon as it is incorporated. |
| Dry and dense crumb | Too much flour, a pan that is too large, or excessive baking time. | Keep the ratio, use a pan close to 23 x 32 cm, and begin checking doneness at 35 minutes. |
| Center sank | Oven opened too early, center still raw, too much filling in the middle, or weak baking powder. | Do not open before 30 minutes, spread the filling evenly, and check the baking powder date. |
| Wet band near the filling | Hot or watery filling, too much sauce, or a pie that is too deep. | Reduce and cool the filling, drain wet ingredients, and use a wider pan. |
| Brown outside, raw in the center | Oven too hot or pan too small and deep. | Bake at 180 °C on the center rack and use a pan that spreads the batter into a moderate layer. |
| Rose and then collapsed | Structure had not set, the oven was opened early, or the amount or activity of the leavener was off. | Respect the initial no-opening period and use properly measured baking powder within its shelf life. |
Base recipe from start to finish
1. Prepare about 450 g of seasoned shredded chicken. Cook the filling until no liquid pools at the bottom of the pan and let it cool.
2. Preheat the oven to 180 °C and grease a pan about 23 x 32 cm.
3. Blend 3 eggs, 2 cups milk, 1/2 cup oil, and 1 level teaspoon salt for 20 to 30 seconds.
4. Add 2 cups flour in two stages, blending only as much as needed. Add 1 tablespoon baking powder and mix gently. If desired, add 2 tablespoons Parmesan.
5. Pour half the batter into the pan, spread the cool filling without concentrating it in the center, and cover with the rest.
6. Bake for 35 to 45 minutes. Do not open the oven during the first 30 minutes. Remove when the center is firm and a toothpick tested in the batter shows no raw batter.
7. Wait about 10 minutes before cutting. This rest helps steam redistribute and the structure set without drying the pie out.
What really keeps the pie light
The key is not to turn the batter into foam, but to keep it from being overworked or overloaded. Use a balanced ratio, blend the liquids first, handle the flour quickly, add the baking powder at the end, and bake in an already hot oven. During assembly, use a cool filling that is moist without being watery and distribute it across the whole pan. These controls make it easier to distinguish a naturally tender pie from an underbaked batter and to correct the right cause in the next batch.