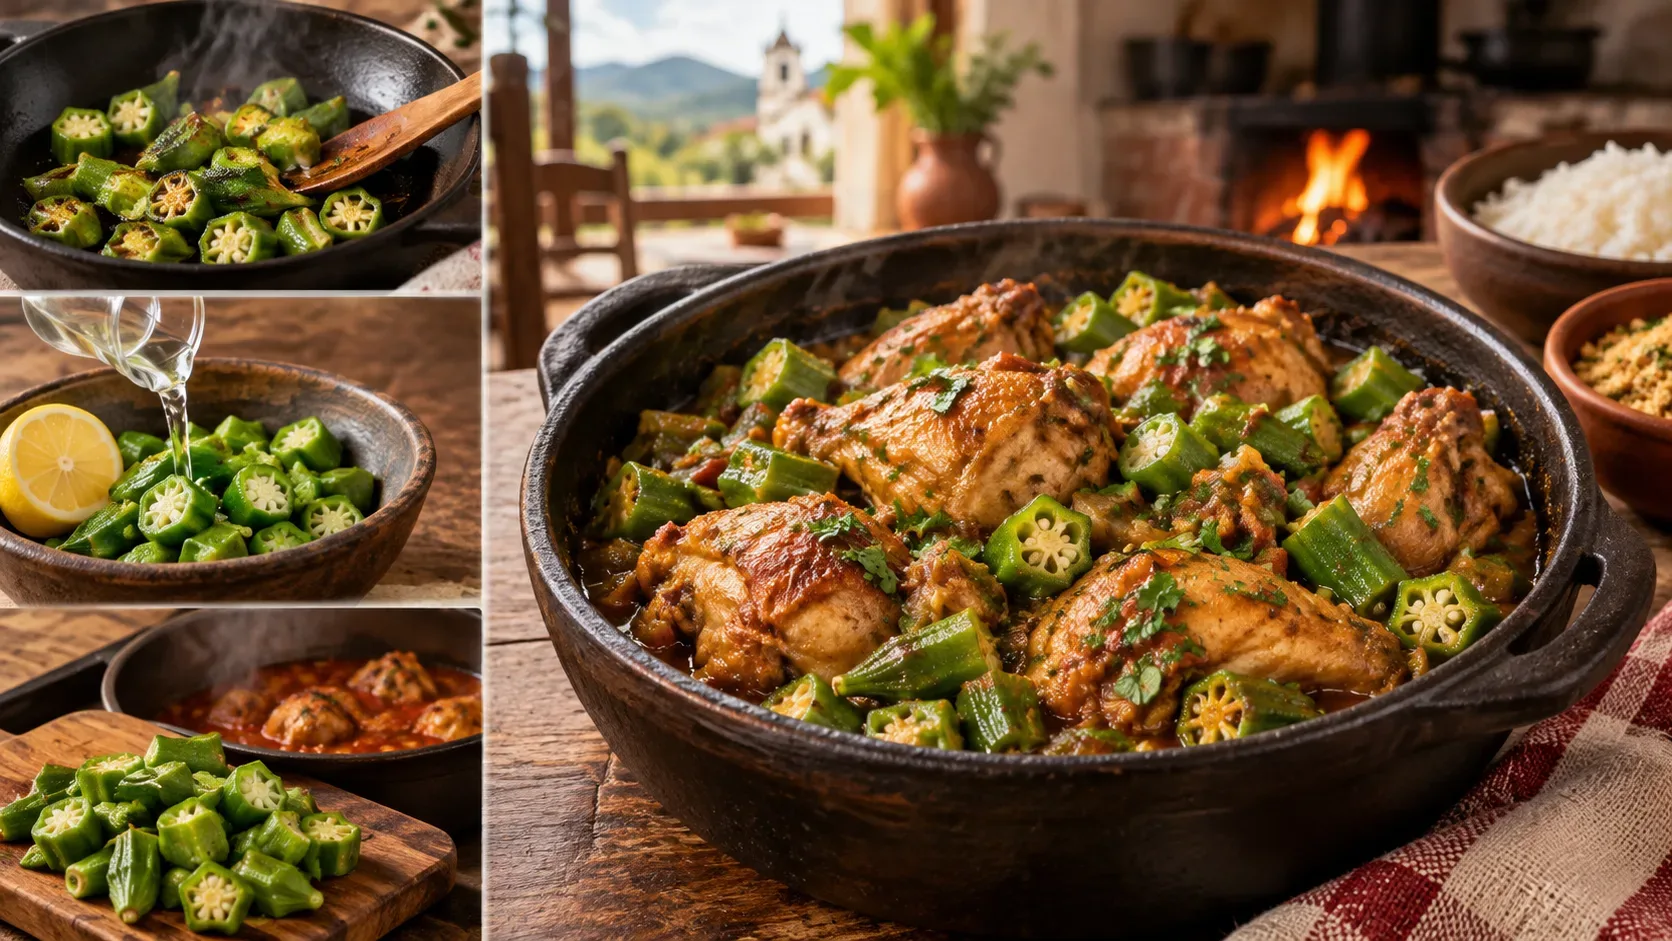
To make chicken with okra with little or no slime, there is no single mandatory trick. The result depends on three levers: how much moisture the okra meets, how much inner surface is exposed by cutting, and how long it cooks in the sauce. The “slime” is okra's natural mucilage; a scientific review notes that water, heat, and greater cut surface area favor its release and the thickening of the surrounding liquid. That is why different methods work — but produce different textures and flavors. Read the scientific review on okra mucilage.
Three ways to control okra slime
| Method | Result | Effort | When to add it to the chicken |
|---|---|---|---|
| 1. Sear/sauté separately | Least slime, firmer okra, and a toasted flavor. | Medium: it uses an extra skillet. | During the last 5 to 8 minutes, just long enough to blend the flavors. |
| 2. Use acidity | Reduces viscosity and adds a light tang; useful if you want an extra safeguard against gumminess. | Low to medium. | After a brief sauté; let it spend 8 to 10 minutes in the sauce. |
| 3. Cut larger and add late | Less work, juicier okra, and some residual mucilage that can lightly thicken the sauce. | Low. | Only when the chicken is nearly done, for about 8 to 12 minutes. |
If your priority is a very “dry” result, method 1 is the most predictable. If you like a full-bodied but not sticky sauce, method 3 preserves some of okra's thickening function without turning the pot overly viscous. Method 2 sits between the two and is especially useful when the recipe already includes tomato, lemon, or vinegar. Acidity changes the behavior of the mucilage and tends to reduce its viscosity. Learn why acidity changes okra's texture.
Base recipe for Minas Gerais-style chicken with okra
This base serves 5 to 6 people and lets you choose any of the three methods without changing how the chicken is cooked.
Ingredients
- 1.2 kg (about 2.6 lb) chicken pieces, preferably bone-in thighs and drumsticks
- 600 g (about 1.3 lb) fresh okra
- 1 large onion, chopped
- 4 garlic cloves, crushed or chopped
- 1 tablespoon annatto powder or sweet paprika
- 2 tablespoons oil for browning the chicken
- 1 to 2 extra tablespoons oil if using method 1
- 1 ripe tomato, chopped, optional
- salt and black pepper to taste
- hot water, enough to make a short sauce without fully submerging the chicken
- chopped parsley and scallions or other fresh green herbs to taste
- 1 tablespoon clear vinegar or juice of 1/2 lemon if using method 2
1. Brown and cook the chicken
- Do not wash raw chicken in the sink. If the surface is very wet, pat it dry with paper towels and discard them immediately. Washing raw poultry increases the risk of spreading microorganisms through splashes around the kitchen. See USDA food-safety guidance.
- Season the chicken with garlic, salt, pepper, and annatto or paprika.
- Heat a wide, heavy pot with 2 tablespoons of oil. Brown the chicken in batches so the pot is not crowded; the goal is to build color before adding liquid.
- Add the onion and sauté until softened. If using tomato, add it now and cook until it starts to break down.
- Add enough hot water to come roughly halfway up the chicken pieces. Scrape the bottom of the pot to release the browned bits.
- Cook over medium heat with the lid partially on until the chicken is tender. Timing varies with piece size; use internal temperature to verify safety rather than relying only on color.
Method 1: sear the okra separately
This is the most reliable route when your goal is to minimize slime. Traditional Brazilian recipes also use thoroughly dried okra cooked separately before it is added to the chicken. See a traditional example and a recent slime-control approach.
- Wash the okra whole and dry it very thoroughly. Only then trim the ends and cut it into 2 to 3 cm pieces.
- Heat a wide skillet over medium-high heat with 1 to 2 tablespoons of oil.
- Spread the okra in a relatively loose layer. Avoid crowding the pan because trapped steam works against the goal.
- Sauté for about 8 to 12 minutes, stirring only occasionally, until the surface looks drier, some edges are browned, and the mucilage strands have largely subsided.
- Add to the chicken for the final 5 to 8 minutes. Stir gently so the okra does not break apart.
Choose this when: you want firm okra, more toasted flavor, and the lowest risk of a viscous sauce. It is also the best option when serving the dish right after cooking.
Method 2: use acidity to lower viscosity
Vinegar, lemon, and tomatoes lower pH and can make okra mucilage less viscous. This does not mean acid instantly erases all slime; it works best together with thoroughly dried okra and cooking without excessive water.
- Dry and cut the okra as in method 1.
- Sauté for 2 to 3 minutes in a hot skillet with a small amount of oil.
- Add 1 tablespoon of clear vinegar or the juice of 1/2 lemon for 600 g of okra. This is a practical culinary starting point; adjust later to taste.
- Cook for a few more minutes, until the sharp acid aroma softens and the okra begins to tenderize.
- Add to the chicken when about 8 to 10 minutes remain. If the recipe already contains plenty of tomato, taste before adding more acid.
Choose this when: you prefer a brighter, lightly tangy sauce or want a simple method that tolerates a little more moisture in the pot.
Method 3: larger pieces and a late addition
This method uses the science of mucilage to your advantage: the less inner surface that is exposed and the shorter the contact with liquid, the less opportunity there is for mucilage to spread through the sauce.
- Choose small, tender okra pods. Wash them whole and dry completely.
- Leave the smallest pods whole or cut them into larger 3 to 4 cm pieces instead of thin rounds.
- When the chicken is already tender and the sauce has reduced, add the okra directly to the pot.
- Cook uncovered for about 8 to 12 minutes, stirring only as much as necessary.
- Turn off the heat when the okra is tender but still green and holds some structure.
Choose this when: you want fewer dishes and do not mind a small amount of mucilage in the sauce. It can even help give the broth body without necessarily making it sticky.
How to choose and prep okra before cooking
- Prefer small, firm pods: very large okra tends to be more fibrous. A common practical test is whether the tip snaps easily, which suggests a more tender pod.
- Wash before cutting: once the pod is opened, contact between the interior and water makes mucilage release easier.
- Dry it thoroughly: draining is not enough; remove surface moisture before cutting.
- Avoid very thin slices if reducing slime is your priority, because more cutting exposes more inner surface.
- Do not stir constantly: it can break the okra and distribute more mucilage through the liquid.
Mistakes that make chicken with okra slimier
- cutting the okra while it is still wet;
- putting too much okra in a small skillet and creating steam;
- adding raw okra too early to a thin, watery broth;
- slicing it very thin and cooking it for too long;
- trying to “dry out” the sauce with the lid on;
- continuing to stir after the okra is already tender.
Safety: how to know the chicken is fully cooked
Tender meat, browned skin, and clear-looking juices can help you judge cooking progress, but they do not replace an objective temperature check. For poultry, USDA recommends a minimum internal temperature of 74 °C (165 °F), measured in the thickest part away from bone. See the official safe-temperature chart. Brazil's Anvisa good-practices booklet advises that all parts of food reach at least 70 °C; for this home recipe, using 74 °C as the target for chicken provides a practical poultry-specific reference. See the Anvisa booklet record.
Also keep cutting boards, knives, and utensils that touched raw chicken separate from those used for okra or ready-to-eat foods, and wash your hands after handling the poultry.
Which method should you choose?
- I want the driest okra possible: method 1, seared separately.
- I want convenience with a tangy note: method 2.
- I want fewer dishes and do not mind a lightly thickened sauce: method 3.
The key is to match the method to the result you want. “No slime” does not have to mean dried-out okra: you can keep it tender and green, control the mucilage, and still preserve the character of classic Minas Gerais-style chicken with okra.