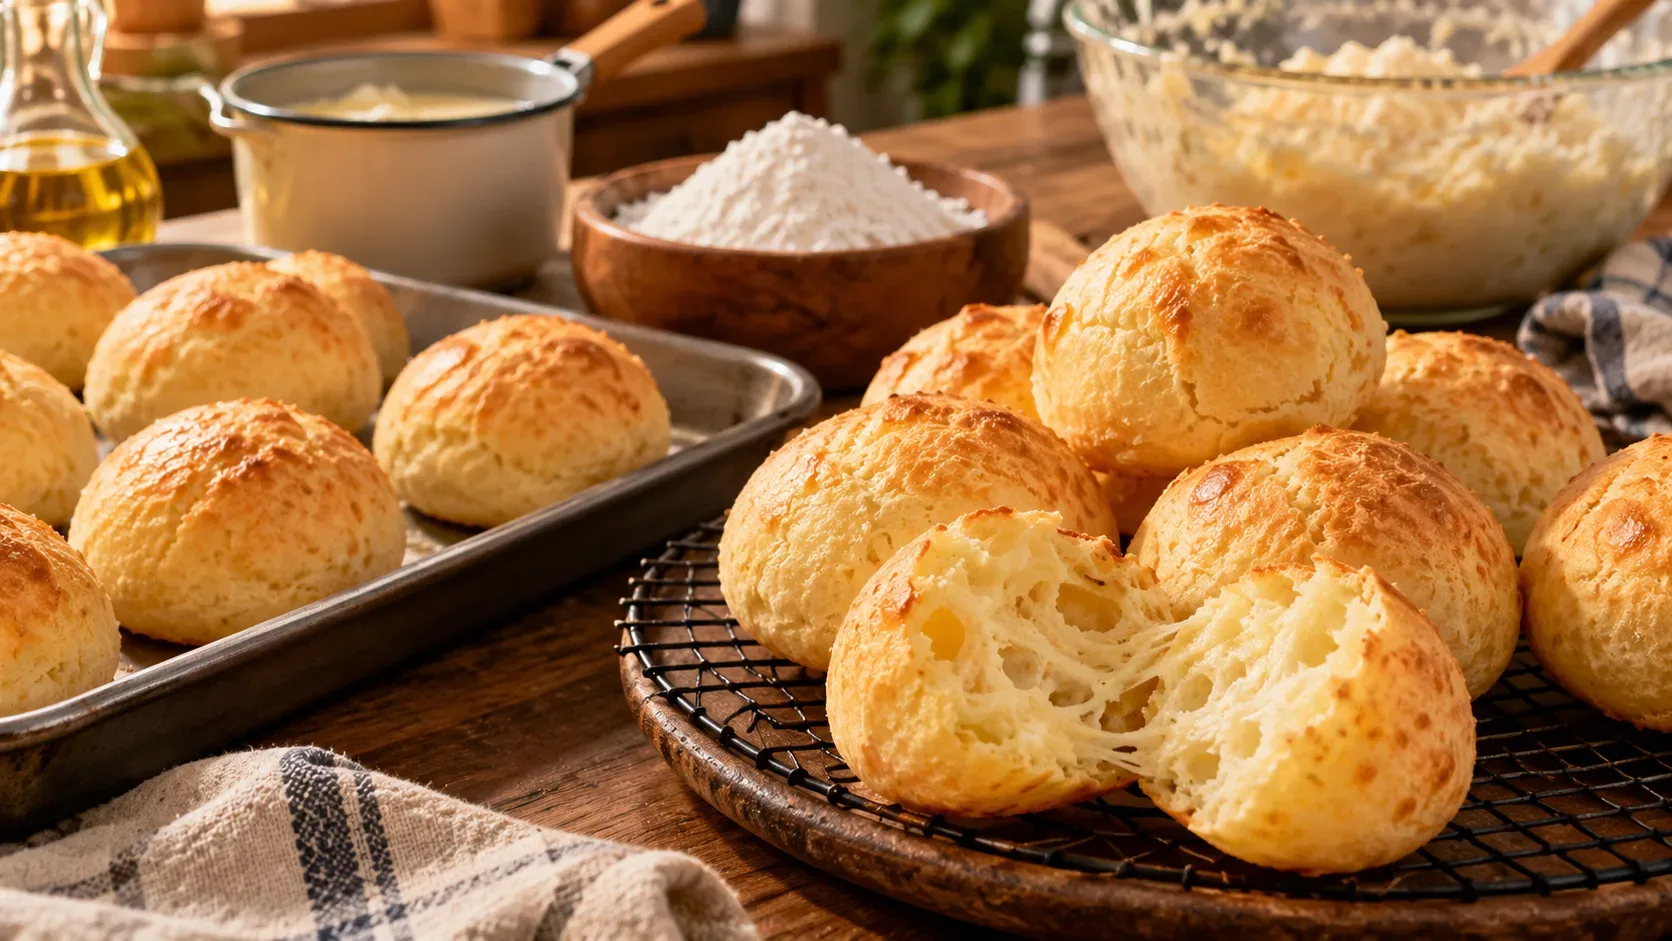
When Brazilian cheese bread comes out of the oven tall and then loses most of its volume within minutes, the problem usually is not a single “trick.” The result depends on the combination of scalding, type of cassava starch, actual amount of egg, cheese moisture, ball size and enough baking time. A small amount of shrinkage while cooling is normal; this recipe aims to reduce severe post-oven collapse and build a crust and crumb that hold the expansion more effectively.
What makes Brazilian cheese bread rise and hold its structure
In the oven, water in the dough turns to steam and helps the cheese bread expand. For that volume not to disappear immediately, the dough needs a structure that can retain part of that expansion as it bakes. Scalding starts starch gelatinization; studies on pão de queijo show that this step changes dough consistency and can improve volume, texture and expansion. Egg and cheese also influence plasticity and the structure of the baked product.
- Scalding: the liquid should reach a boil before it is poured over the cassava starch; the goal is to moisten and partially pre-gelatinize the starch without leaving pockets of dry powder.
- Cassava starch: sour cassava starch (polvilho azedo) has greater expansion ability; sweet cassava starch (polvilho doce) tends to expand less. Combining them is a practical way to balance rise with a crumb that is not excessively hollow.
- Egg: it goes in after the scalded mixture has cooled to warm. Because egg size and starch absorption vary, weighing it and adding it gradually is more reliable.
- Cheese: it provides flavor and also affects consistency. Very moist cheese can loosen the dough; semi-cured Minas cheese or a firmer Minas-style cheese is usually more predictable.
- Oven: it must be fully preheated, and the breads need enough time for the surface and internal walls to set before they come out.
Sweet cassava starch, sour cassava starch or a blend?
| Choice | Typical result | When it makes sense |
|---|---|---|
| 100% sweet cassava starch | Less expansion, more compact and elastic crumb | For people who prefer less hollow cheese bread and accept a more restrained rise |
| 100% sour cassava starch | More expansion, more air cells and a drier/crisper crust | For people who want stronger rise and a more aerated texture |
| Blend | Balance between expansion and body | A good choice for a home oven when the goal is to rise without becoming extremely hollow |
For this formula, the starting point is 300 g sweet cassava starch + 200 g sour cassava starch. This is not a universal ratio: starch brand, moisture level and cheese all change the dough consistency. That is why controlling the egg is more important than insisting on using every gram of liquid listed.
Recipe by weight for about 36 to 40 pieces
- 300 g sweet cassava starch (polvilho doce)
- 200 g sour cassava starch (polvilho azedo)
- 200 g whole milk
- 100 g water
- 100 g neutral oil
- 8 g salt, adjusted to the saltiness of the cheese
- 100 to 120 g beaten egg, added gradually
- 300 g grated semi-cured Minas cheese
Portion the dough into balls of approximately 30 to 35 g. If your cheese is moister, the dough may need less egg; if the cheese is very aged and dry, it may need a little more.
Step by step with dough and oven checkpoints
1. Preheat the oven thoroughly
Heat the oven to 190 °C for at least 20 minutes, with the rack in the center. In a strong fan/convection oven, 180 °C may be a better starting point. Prepare a baking sheet without crowding the pieces.
2. Scald the starch
Combine both cassava starches with the salt in a heatproof bowl. Bring the milk, water and oil to a boil. Pour the hot mixture over the starch all at once and stir immediately, scraping the bottom and sides.
Checkpoint: the mixture should look like a damp, heavy, partly gummy crumble, with no large patches of white dry starch. It does not need to be smooth at this stage. Let it cool until warm enough to handle comfortably.
3. Add the egg gradually
Beat the eggs and weigh out 120 g. Start by adding about 90 g in two or three additions. Mix well before deciding whether the rest is needed.
Checkpoint: the dough should be soft, tacky and cohesive, but not runny. A spoonful placed in the bowl should sit in a small mound rather than spread like a cream. If you reach that point with 100 g of egg, stop there.
4. Mix in the cheese
Add the grated cheese and mix only until evenly distributed. The final dough should be workable with lightly oiled hands. If it is only slightly soft, 10 to 15 minutes in the refrigerator can firm it up without adding excessive raw starch.
Checkpoint: a shaped ball should keep its form on the baking sheet. If it flattens on its own before baking, the dough is too wet.
5. Shape uniformly
Weigh 30 to 35 g portions and leave about 4 cm between them. Oversized pieces are more likely to brown outside while the center is still too wet.
6. Bake until the structure sets, not just until it colors
Bake at 190 °C for about 25 to 35 minutes, depending on your oven and the size of the pieces. Avoid opening the door during the first 20 minutes. The finish line is not simply “golden”: look for well-expanded breads, a dry surface, firm sides and a lightly browned base.
If the top gets dark before the sides set, reduce the oven by about 10 °C next time or use a slightly lower rack position. If the breads come out pale and lose a lot of volume, give them a few more minutes instead of removing them as soon as they puff.
Troubleshooting matrix: what each symptom usually means
| Symptom | Likely causes | Adjustment for the next batch |
|---|---|---|
| Deflates heavily after leaving the oven | Center still wet, too much egg/liquid, oven not fully heated or door opened early | Use less egg, preheat more thoroughly and bake until the sides and base are firm |
| Dense or raw in the center | Pieces too large, excess moisture or short baking time | Make 30 to 35 g pieces and bake longer, lowering the temperature if the crust is already dark |
| Spreads on the baking sheet | Dough too loose, cheese too moist or incomplete scalding | Stop adding egg sooner, use firmer cheese and pour truly boiling liquid over all the starch |
| Cracks heavily and turns dry | Some cracking is normal; deep cracks with a dry crumb can accompany dough that is too firm or heat that is too aggressive | Check the egg level and try 10 °C lower if the exterior sets too early |
| Becomes very hollow | High expansion, a larger share of sour cassava starch and/or very soft dough | Use a little more sweet cassava starch next time and stop the egg as soon as the dough is shapeable |
| Turns hard | Dry dough, too little egg/cheese or excessive baking time | Correct the dough with small additions of egg and remove when firm and golden instead of baking until dry |
| Hardly rises | Cold oven, weak scalding or a low-expansion formula | Ensure a real boil for scalding, preheat long enough and, if you want more volume, moderately increase the sour cassava starch fraction |
How to correct the dough without rebuilding the recipe
If the dough is dry and crumbly, beat a little egg separately and work it in 5 g at a time until the dough becomes cohesive. If it is slightly soft, let it rest or chill for 10 to 15 minutes before deciding on any correction. Avoid dumping large amounts of raw starch at the end because that changes the ratio between scalded and unscalded starch and can make the crumb heavy.
If the dough is almost fluid, correction within the same batch is limited: use a spoon or piping bag if it still has some body and, next time, reduce the egg. Gradual control is more reliable than trying to “dry out” the dough afterward.
Freezing helps standardize the process
Shape the balls, freeze them uncovered on a tray and, once firm, transfer them to a bag or container. They can go into the oven still frozen; allow a few extra minutes of baking. This also lets you test a few pieces first and adjust time and temperature before baking the whole batch.
What to record the first time
- the actual weight of egg used;
- the weight of each ball;
- the oven setting and the real time needed to set;
- the type and brand of cassava starch;
- the type of cheese and how moist it was.
These notes make the second batch far more predictable. Brazilian cheese bread is sensitive to its ingredients; the most useful “secret” is to turn dough consistency and doneness into observable checkpoints.
Sources and technical reading
- Ciência e Agrotecnologia: effect of scalding on pão de queijo dough and product properties
- Food Science and Technology: role of ingredients in dough consistency and pão de queijo characteristics
- Brazilian Journal of Food Technology: expansion of sour cassava starch and substitutes
- Receitas Nestlé: Brazilian cheese bread and scalding method
- Receitas Globo: scalded pão de queijo
- Pão de Queijo: 2026 article on cheese bread that does not deflate