You do not need two different recipes to choose between a smooth Brazilian condensed milk flan and one with the classic tiny holes. With the ingredients unchanged, the texture depends mainly on two things: how much air enters and remains in the mixture, and how intense the cooking is while the egg proteins set the custard. The water bath, resting time, foam removal, straining, and oven temperature are tools for controlling those two variables.
What creates — or prevents — the holes
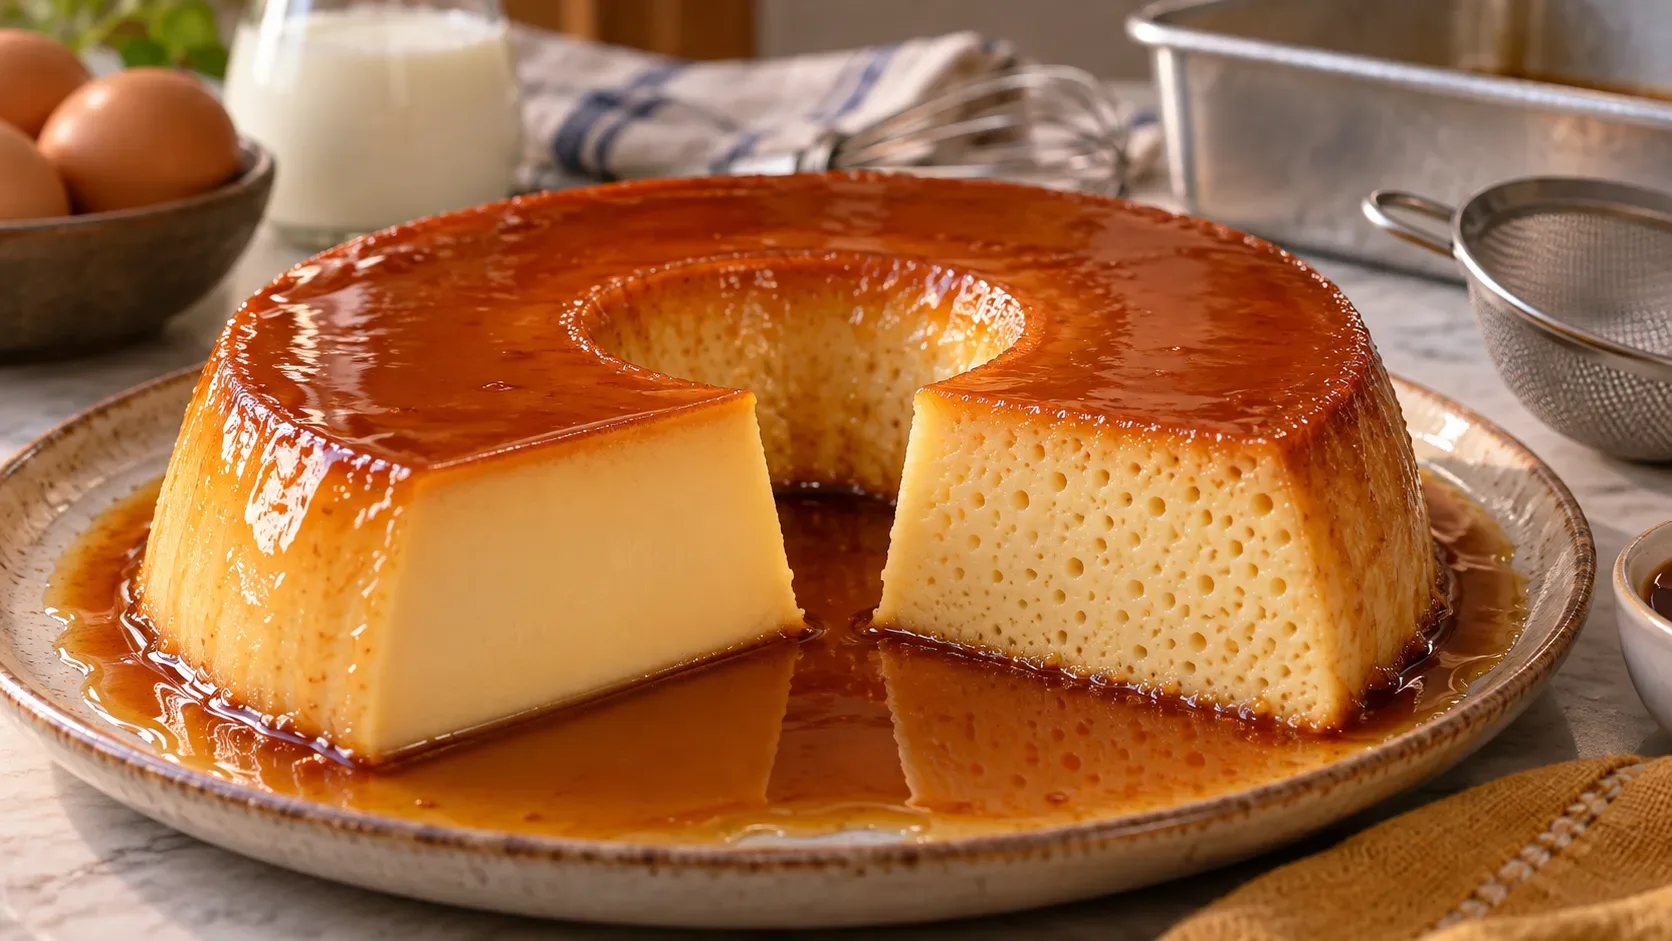
The holes form when small pockets of air and steam become trapped in the flan as its structure coagulates. Vigorous mixing incorporates more air; stronger heat or excessive baking can make the structure set faster and trap those bubbles. Taken too far, the result stops being pleasantly “holey” and can become spongy, overly firm, or even release liquid.
For a smooth texture, the goal is the opposite: incorporate little air, give foam time to rise, and cook the custard gently and evenly. The Exploratorium explains that a water bath provides moderate, even heat and that cooking flan too quickly can make it look spongy. In 2026, King Arthur Baking likewise noted that overmixing adds air, while skimming foam and straining help produce a silkier texture.
One base recipe for testing both textures
Use the same base for both versions. That keeps the comparison focused on technique rather than ingredients.
- Caramel: 1 cup sugar and 1/2 cup hot water.
- Flan: one 395 g can or carton of sweetened condensed milk, about 600 ml whole milk, and 3 eggs.
- Pan: a ring mold about 19 cm in diameter.
This ratio follows the classic Nestlé Pudim de Leite Moça reference. Make the caramel, coat the pan, and set it aside before mixing the custard.
Steps before the two methods split
- Melt the sugar until golden. Carefully add the hot water and cook until the sugar lumps dissolve and the caramel is smooth.
- Coat the pan with caramel and set aside.
- Preheat the oven and prepare a larger roasting pan for the water bath.
- Have hot water ready to come roughly halfway up the sides of the flan pan.
If you want a smooth flan
- Mix the condensed milk and whole milk first, only until smooth.
- Add the eggs and blend or pulse only as long as needed to combine. Avoid creating a thick layer of foam on top.
- Let the mixture rest for about 10 to 15 minutes. Ana Maria Braga’s hole-free pudim recipe rests for 15 minutes before holding back the foam and baking.
- Skim off visible foam with a spoon and pass the custard through a fine-mesh sieve without pressing anything through.
- Pour slowly into the pan, cover with foil, and place in the water bath.
- Bake in a low to moderate oven, around 160 to 170 °C, keeping the water bath hot but not aggressively boiling. Baking may take longer than at 180 °C; use the flan’s doneness cues rather than the clock.
If you want a flan with holes
- Put the condensed milk, milk, and eggs in a blender and blend for about 45 to 60 seconds at a higher speed to deliberately incorporate air.
- Do not give the mixture a long rest to eliminate bubbles, and do not deliberately remove all the foam. If you want to compare only the internal texture, you can still keep the foil cover; it is not the main trigger for the holes.
- Set the pan in a hot-water bath and bake at about 180 °C. The combination of more aeration and stronger heat favors the classic holes without changing the formula.
- Do not keep raising the temperature indiscriminately. If the water bath boils violently or the flan bakes far past doneness, the holes may get larger but the custard also tends to become firmer and less creamy.
If you want smooth / if you want holey
| Variable | For a smooth texture | For a holey texture | What changes |
|---|---|---|---|
| Mixing | Blend only until uniform | Blend more to incorporate air | The number of bubbles available to become trapped in the custard |
| Resting and foam | Rest 10–15 min and remove foam | Avoid a long rest and preserve some foam | How much air reaches the oven |
| Straining | Use a fine-mesh sieve | Not necessary for creating holes | Helps remove particles and some foam; it is not the only factor |
| Water bath | Hot water and gentle cooking | Can also be used | Moderates heat transfer and reduces the risk of a rubbery custard |
| Oven | About 160–170 °C | About 180 °C | Stronger heat sets the protein network more quickly |
| Doneness | Remove while the center still has a slight jiggle | Same rule: holes do not require drying out the custard | Keeps the flan from going from creamy to firm and spongy |
What each variable actually does
Aeration: texture control starts before the oven
A blender is not “wrong”; it simply has the potential to incorporate more air. For a smooth flan, use it for the shortest possible time. For a holey flan, that aeration becomes a useful tool. The key difference is intentional: reduce the bubbles or preserve them.
Straining and resting: different jobs
Straining helps remove chalazae and small lumps and can catch some foam, which favors a more uniform mouthfeel. Resting works differently: it gives bubbles time to rise to the surface so they can be removed. Straining and resting can therefore work together, but they are not interchangeable steps.
Water bath and temperature: control the heat, not just the clock
The water bath acts as a thermal buffer. The Exploratorium shows that egg custards exposed to harsher heat can develop many small holes and a rubbery texture. For a smooth flan, the water should stay hot and steady without vigorous bubbling. For a holey flan, you do not need to eliminate the water bath: simply combine more aeration with a slightly higher oven temperature.
How to know when the flan is done
Do not rely on time alone. Pan shape, water volume, roasting-pan material, and oven calibration all change the baking rate. The most useful cue is visual and tactile: the edges should be set while the center still moves with a soft jiggle when the pan is gently shaken. King Arthur recommends removing flan at this stage, before the center becomes completely rigid, because residual heat continues to set the custard.
Let it cool, then refrigerate for at least 6 hours; overnight chilling usually gives an even more stable slice. Nestlé’s classic recipe also uses about 6 hours of chilling before unmolding.
Quick diagnosis when the texture is not what you planned
- You wanted smooth, but got holes: the mixture probably went into the oven with too much foam, the oven was hotter than intended, the water bath boiled strongly, or the flan overbaked.
- You wanted holes, but got smooth: the mixture may have lost too much air while resting, the foam may have been removed, or the cooking was too gentle to trap the bubbles.
- Large cavities, dry texture, or separated liquid: this usually points to excessive heat or too much baking time, not to controlled “holey” texture.
- The center stays soft after chilling: the flan probably left the oven before the custard structure had set enough.
Practical conclusion
For a smooth flan, minimize aeration, rest the mixture, skim the foam, strain it, and bake gently in a water bath. For a flan with holes, deliberately incorporate and preserve more air and use slightly stronger, still controlled heat. The ingredients can remain exactly the same: what changes is how you manage the bubbles and the heat.