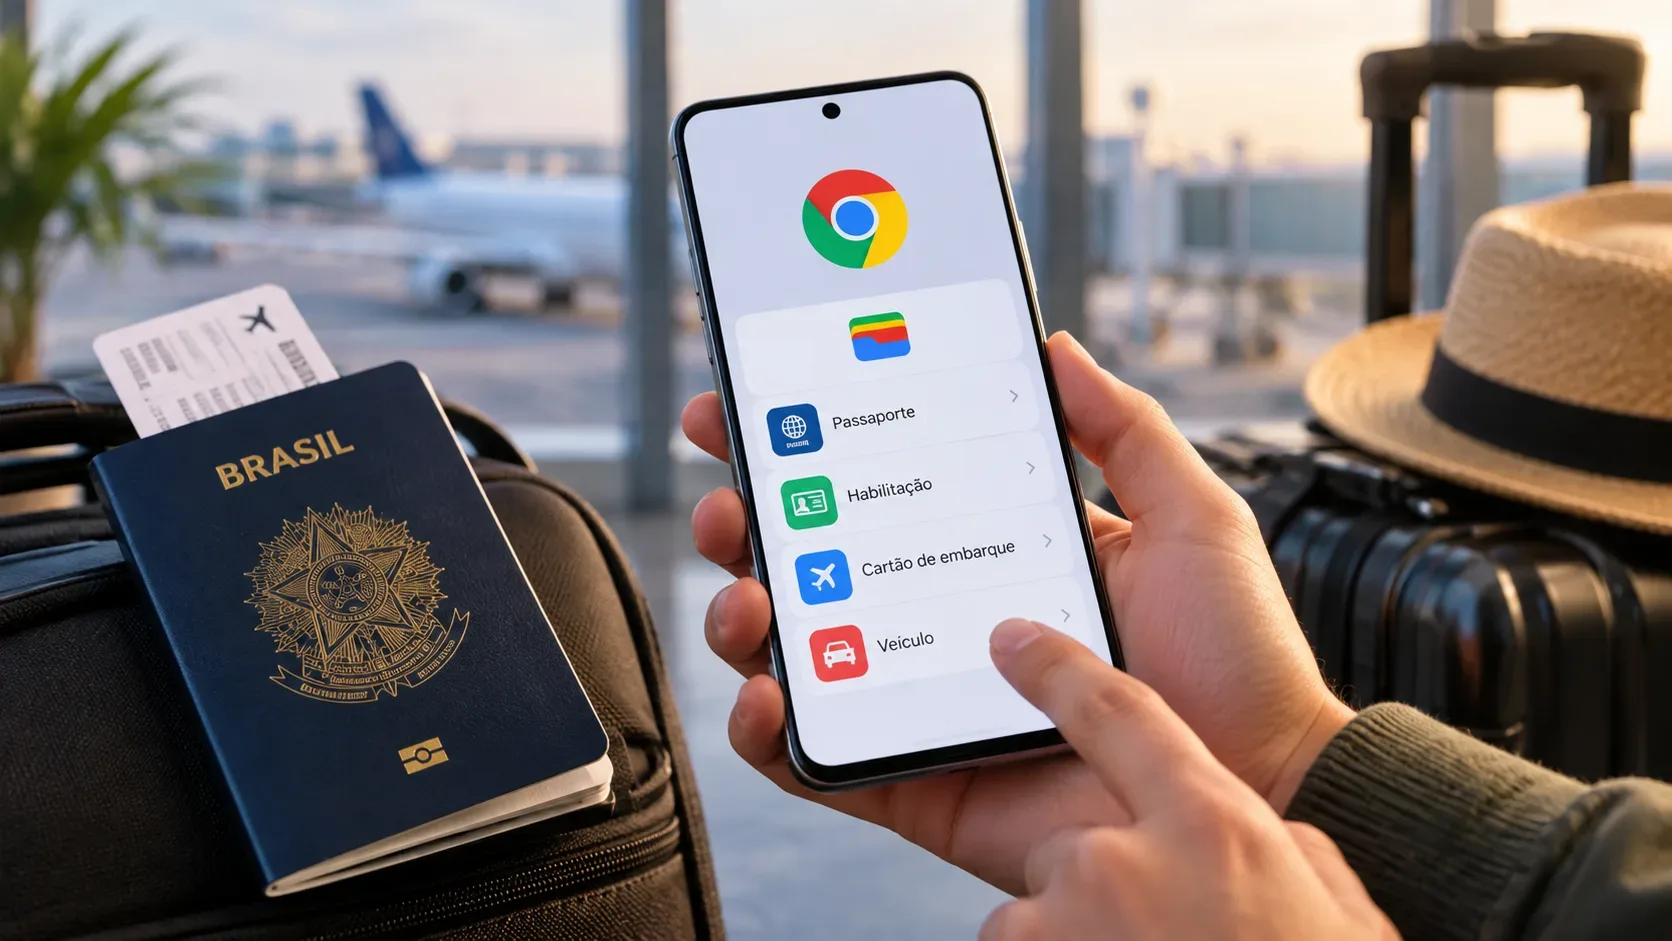
Since June 23, 2026, Chrome has expanded what Google calls enhanced autofill on mobile devices. The update reached Android, iPhone and iPad and began covering more complex forms, such as flight details and vehicle information, while also deepening integration with Google Wallet for identity data. In practice, the browser can suggest passport information, driver's license details and a Known Traveler Number (KTN), in addition to contact and payment information that was already part of autofill.
This does not mean Chrome sends your documents to any website on its own. According to Google, information is saved or filled only with your permission, sensitive data is encrypted, and identity verification for sensitive information is enabled by default. There are also limits: not every website, form or region supports all autofill features.
What changed in Chrome mobile autofill
Google's announcement describes two developments that are easy to mix up. The first is enhanced autofill, which now recognizes more fields and form types on mobile. Official examples include flight details and vehicle information such as license plates and VINs. The second is deeper integration with Google Wallet, allowing Chrome to use data stored there, including passport information, driver's license details and a KTN.
This can be especially useful for check-ins, travel registrations, car rentals, parking payments and forms that previously required users to copy long numbers manually. Chrome still depends on the website's form: if a page is not considered secure enough or the browser does not recognize a field, the suggestion may not appear.
Which data can be included in autofill
| Data type | How it enters the flow | Where it is controlled |
|---|---|---|
| Name, email and addresses | They can come from your Google Account and information saved in Chrome. | Google Account and Chrome address settings. |
| Payment methods | They remain available to autofill and can be saved in Google Wallet. | Chrome and Google Wallet, depending on where the payment method is stored. |
| Passport and driver's license | Chrome can fill identity data stored in Google Wallet. | Google Wallet and the dedicated controls for private passes. |
| Known Traveler Number (KTN) | Google lists KTN as one of the details that can be used from Wallet. | Google Wallet. |
| Flight details | They are among the more complex data types recognized by enhanced autofill. | Autofill settings and saved information. |
| Vehicle, license plate and VIN | They can be recognized and filled by enhanced autofill. | Chrome and, when saved with the account, Google Wallet. |
There is an important difference between having enhanced autofill enabled and having a specific piece of information in Google Wallet. Enhanced autofill enables Chrome to recognize and fill more categories. For data that comes from Wallet, the information must be stored there or you must authorize it to be saved there. Chrome Help also states that addresses are associated with your Google Account, while information such as identity and vehicle details can be stored in Google Wallet. If the setting that lets Google services use Wallet passes is turned off, some of this information may remain local to the device.
How to enable it on Android
- Open Chrome and make sure you are signed in to the Google Account you want to use.
- Tap More, then Settings.
- Under Passwords and autofill, open Autofill settings.
- Turn on Enhanced autofill.
- Keep Verify it's you when filling sensitive info enabled if you want Chrome to require biometrics, a password, PIN or another screen lock before using sensitive data.
On Android, you can also choose the autofill provider. If you select a third-party provider instead of Google's autofill service, data used by Chrome will come from that service. On work or school devices, an administrator may control this option.
How to enable it on iPhone and iPad
- Open Chrome and sign in to your Google Account.
- Tap More, then Settings and Addresses and more.
- Open Enhanced autofill and leave it turned on.
- Under Addresses and more, keep identity verification for sensitive information enabled if you want Chrome to ask for Face ID, Touch ID or your device passcode before filling.
On iPhone and iPad, when information is stored in Google Wallet, Chrome may open a new tab so that editing or deletion happens through Wallet controls. In other words, not everything should be treated as if it were stored only inside the browser.
When Google Wallet is required
Wallet becomes especially relevant when Chrome needs to reuse information Google treats as identity data or other structured details associated with Wallet. The June announcement explicitly mentions passport information, driver's license details and KTN. If those details are not already in Wallet, Chrome may ask whether you want to save them there the first time you enter them in a form.
Saving is opt-in at that moment: accepting the prompt is the user's decision. For information already stored in Wallet, editing and deletion controls remain there. Google also notes that private passes, such as IDs, have their own controls.
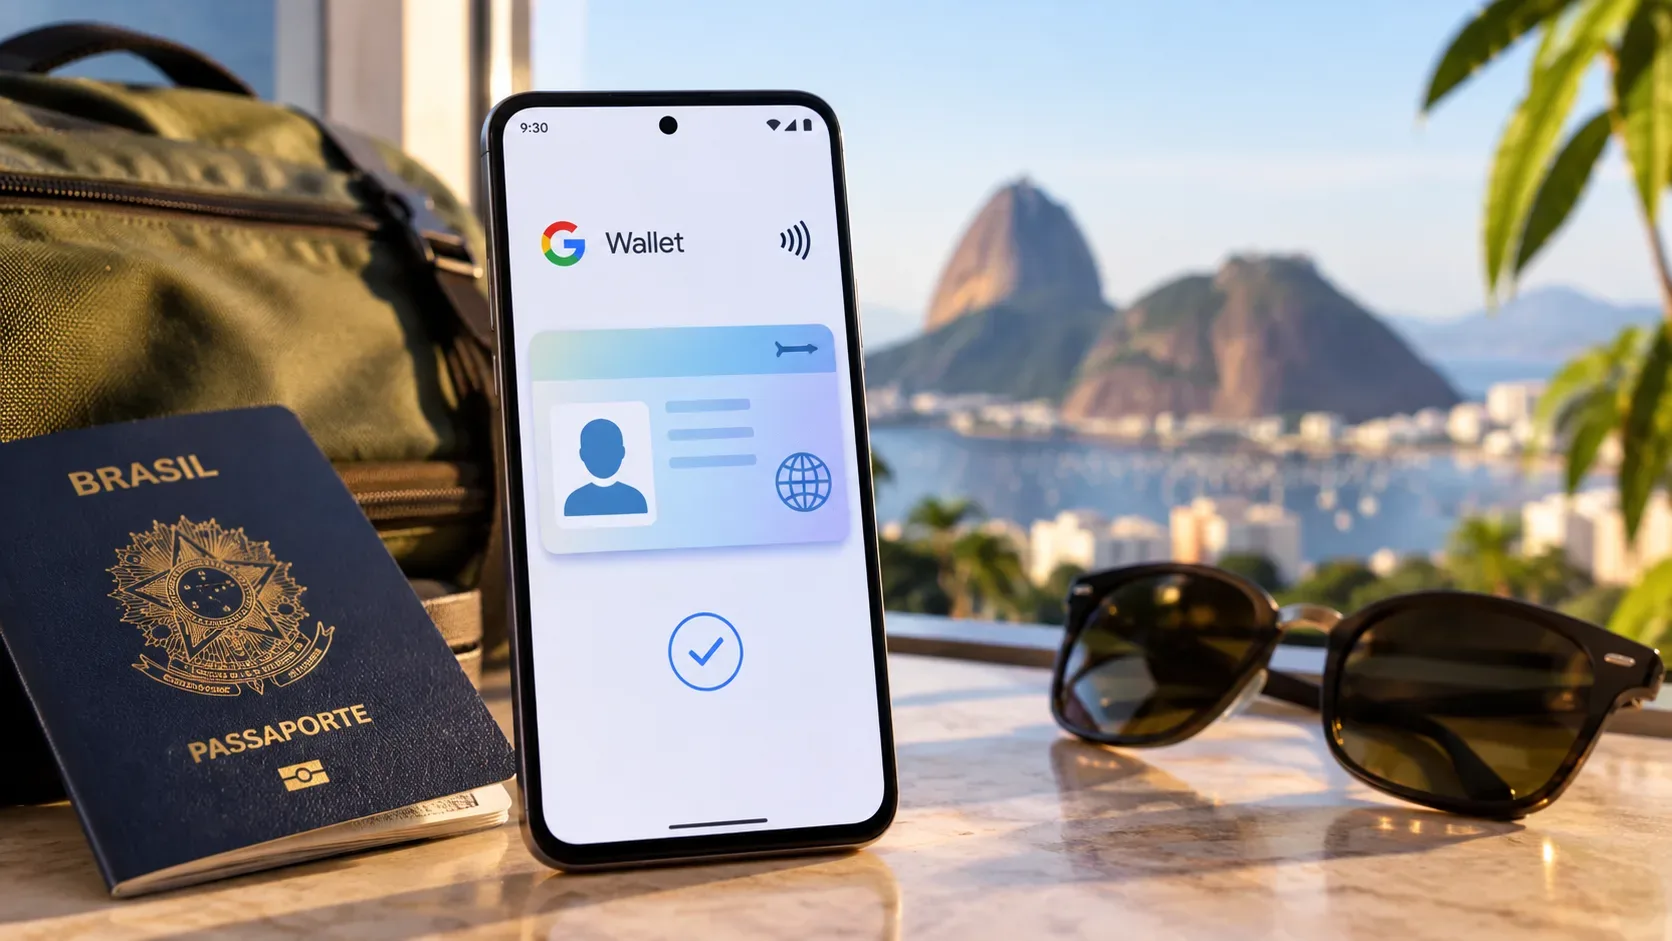
For an ID pass created from a passport in Google Wallet, the documentation says it is encrypted and stored on the device. Brazil is among the supported regions for creating an ID pass from a passport, but the pass is not an official document and does not replace the physical passport. Outside the United States, Google's own help page warns that the ID pass cannot be used for immigration or travel.
How to control saving, editing and deletion
Controls are split across Chrome, your Google Account and Google Wallet depending on the type of information.
- To turn off enhanced autofill: return to Chrome's autofill settings and disable the feature.
- To stop a category from being filled: turn off the corresponding save-and-fill setting, such as addresses or payments.
- To edit or remove information stored in Wallet: use Google Wallet controls; Chrome may redirect you there.
- To delete local Chrome autofill data: use Delete browsing data and select Autofill form data. This does not automatically delete information that remains stored in Wallet or your Google Account.
- To reduce the use of Wallet passes across Google services: review the Wallet setting for using passes across Google. When it is turned off, Chrome Help says certain information may be stored locally on the device.
Re-authentication: why keeping it on matters
For sensitive information, Chrome enables an extra authentication layer by default. On Android, it can use a fingerprint, face unlock, PIN, password or another screen lock. On iPhone and iPad, it can use Face ID, Touch ID or the device passcode. Turning this option off means the browser will no longer request that extra confirmation when it attempts to fill sensitive information.
Keeping re-authentication enabled is especially useful on shared devices or whenever someone else could access an unlocked phone. It does not make every website trustworthy, but it adds a barrier before Chrome releases data it considers sensitive.
Why autofill may not appear
- The feature or that data type may not yet be available in your region.
- The website or form may not support enhanced autofill.
- Chrome may consider the page insufficiently secure to receive the information.
- The browser may fail to recognize a particular field.
- The category's Save and fill option may be turned off.
- The data may not be stored in your Google Account, Chrome or Google Wallet, depending on the type.
- On Android, a different autofill provider may be selected.
Checklist before using it for a check-in or travel form
- Update Chrome and sign in to the correct Google Account.
- Confirm that enhanced autofill is enabled.
- Review saved information before a trip, especially document numbers, expiration dates, KTN, license plate and VIN.
- Keep identity verification enabled for sensitive information.
- Before accepting a suggestion, confirm that the domain and form belong to the service you actually intend to use.
- If a detail does not appear, do not force-save it: first check Chrome settings, Wallet and website compatibility.
For the official details and configuration paths, see Google's June 23, 2026 Chrome announcement, Chrome Help for Android, Chrome Help for iPhone and iPad, and Google Wallet documentation for ID passes.